4 Ingredient Flourless Chocolate Cake
This 4-ingredient flourless chocolate cake is rich, indulgent, and stupidly easy to make. Butter, chocolate, eggs, and a little salt.
This flourless chocolate cake is the cake you make when every other chocolate cake has let you down in life (for real, some of the cakes labeled “chocolate” should be ashamed of themselves!). But, I do warn you, if you aren’t a chocoholic, this cake will be too much for you to handle. Anywho, because this chocolate cake is only made with 4 ingredients and I cut out flour, it’s naturally gluten-free (so you can check that box), but honestly, no one’s going to care about that once they taste it.

How to make 4 Ingredient Flourless Chocolate Cake
For detailed step-by-step instructions, be sure to check out the full recipe in the recipe card at the bottom of the page.

Flourless Chocolate Cake Recipe
Never Lose This Recipe—Email It to Yourself!
Equipment
Ingredients
- 1 cup unsalted butter softened
- 16 ounces semi-sweet chocolate chips
- ½ teaspoon salt
- 8 large eggs room temperature
- powdered sugar for dusting (optional)
Instructions
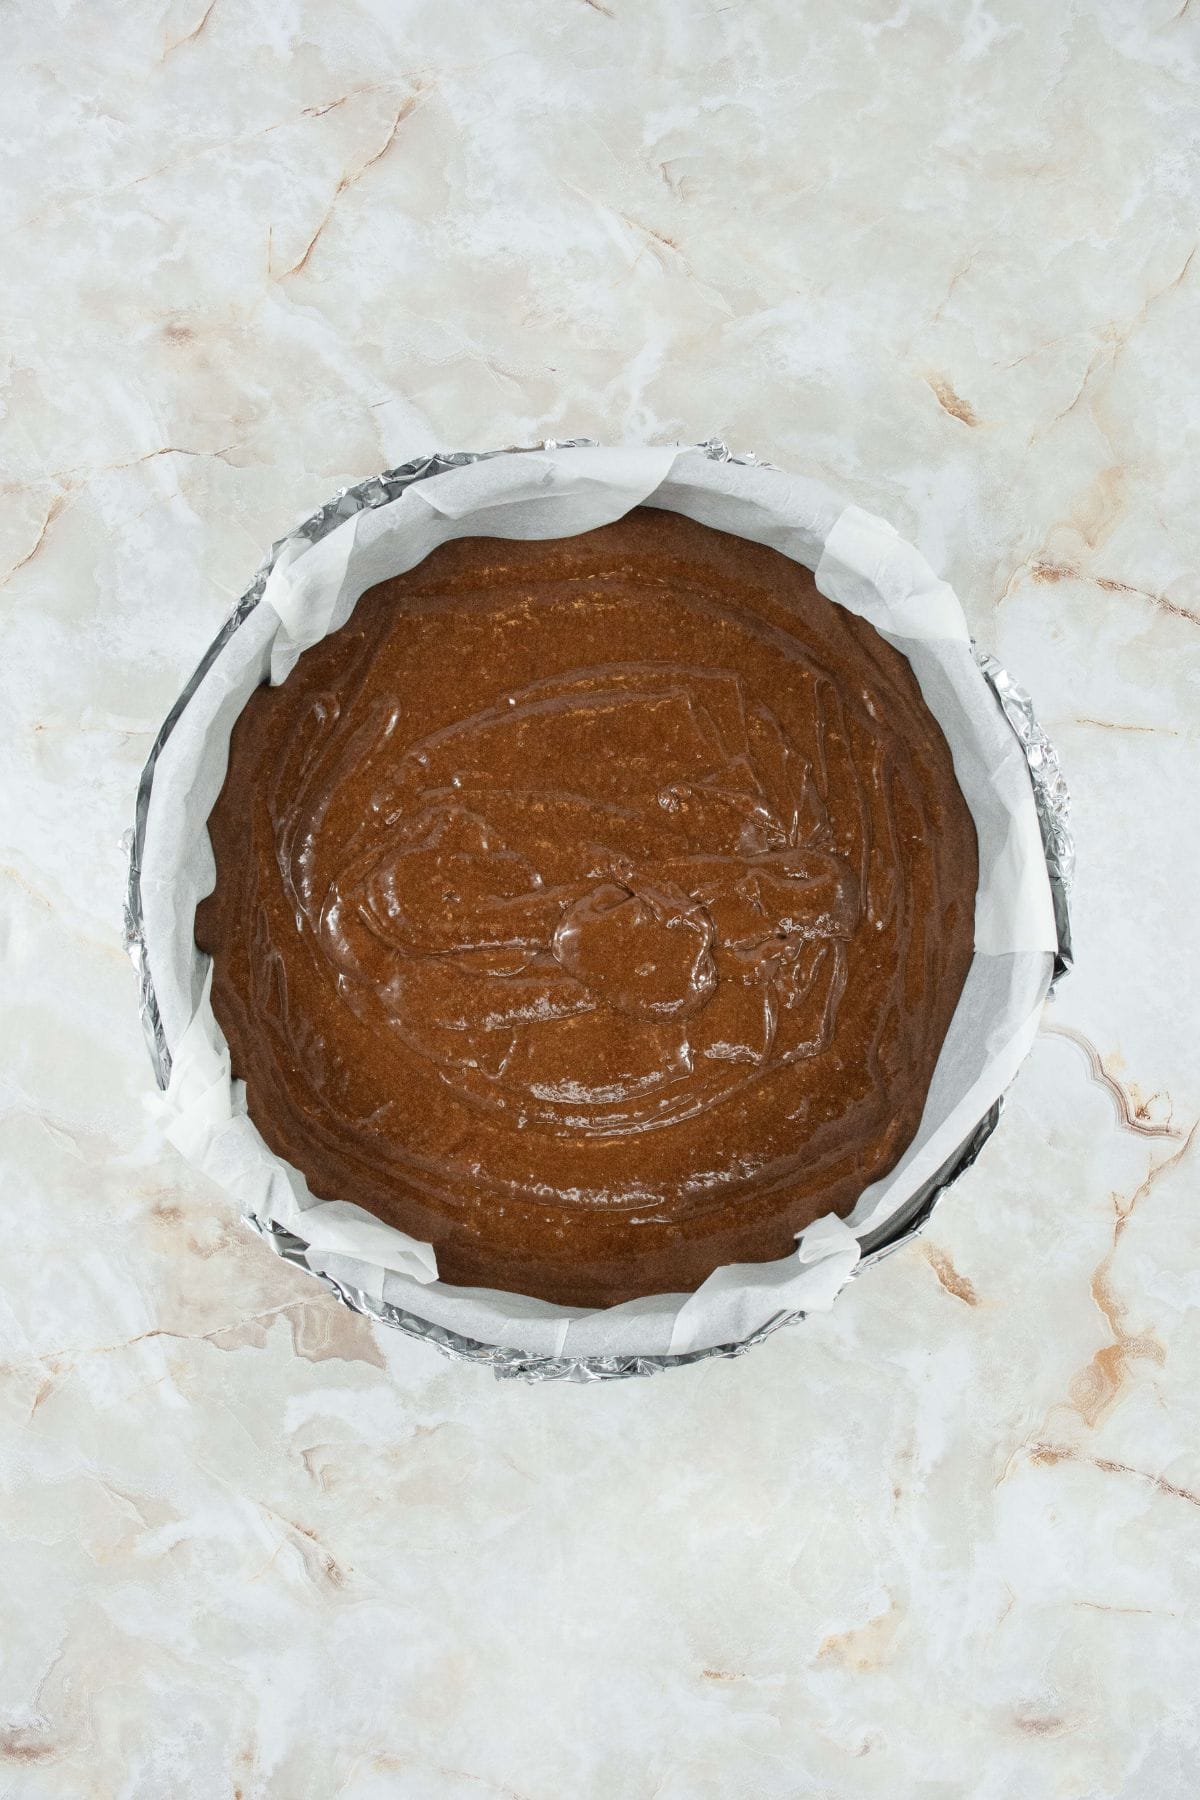
- Preheat the oven to 350°F (175°C). Line the inside of a 10-inch springform pan with parchment paper,cutting it to fit the shape of the pan. Wrap the outside of the pan in several layers of foil to prepare for the water bath and prevent leaks.
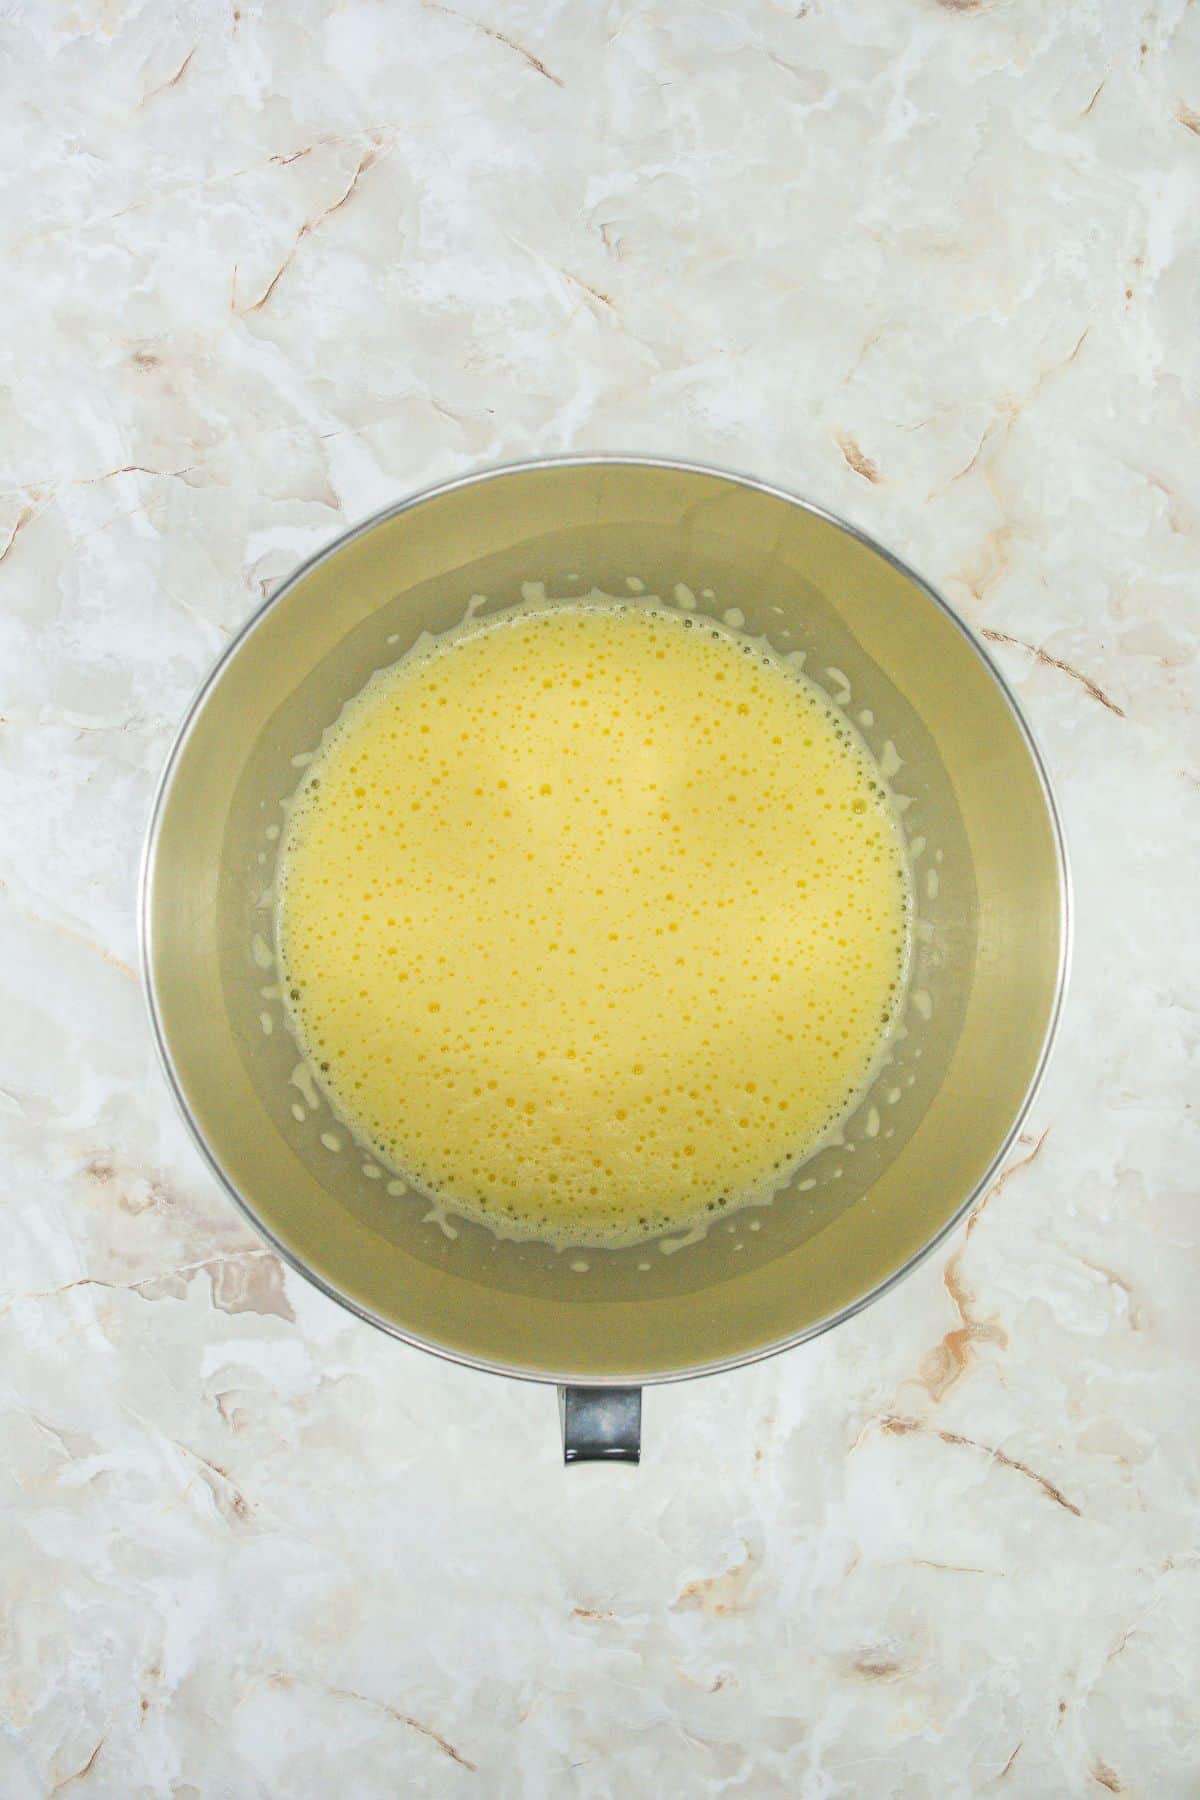
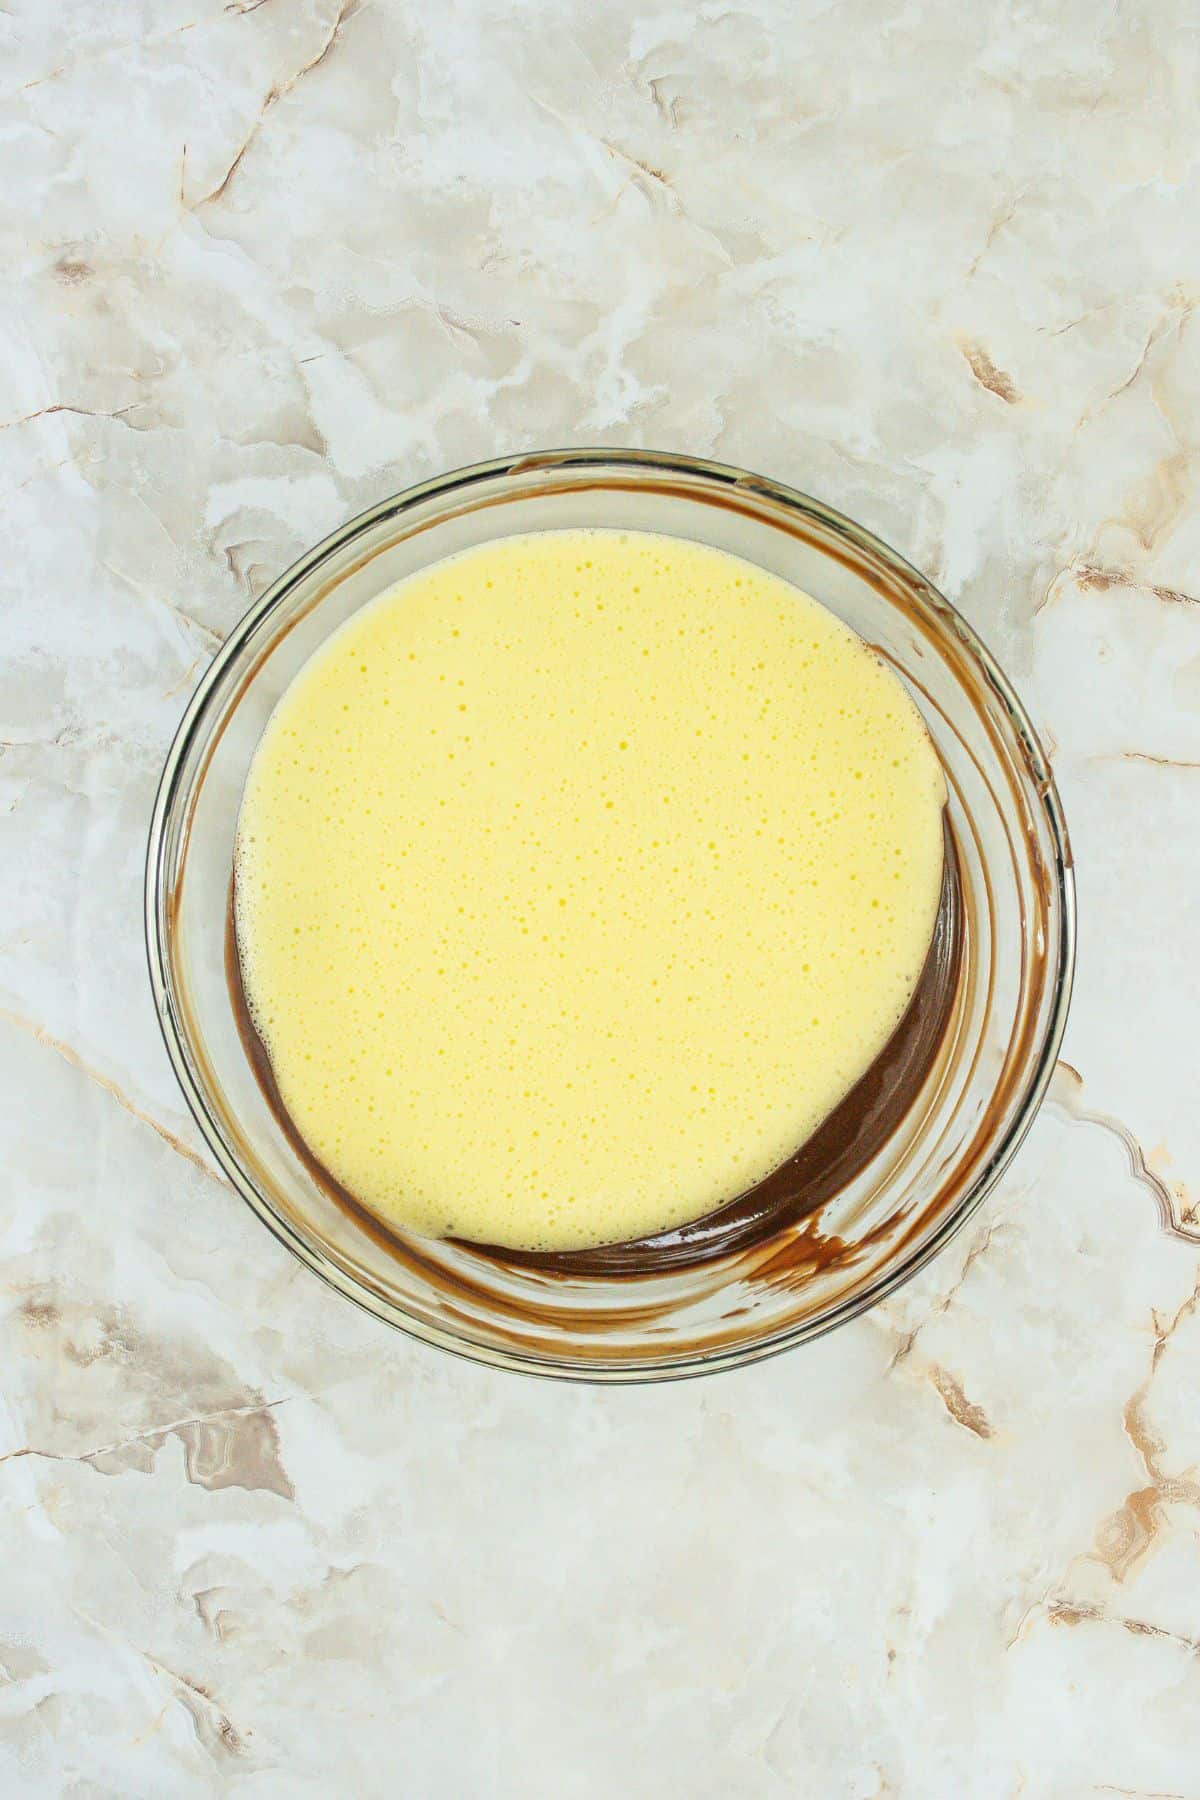
- In the bowl of a stand mixer equipped with the whisk attachment, whisk 8 large eggs room temperature eggs on high speed until they double in size. This should take about 5 minutes.
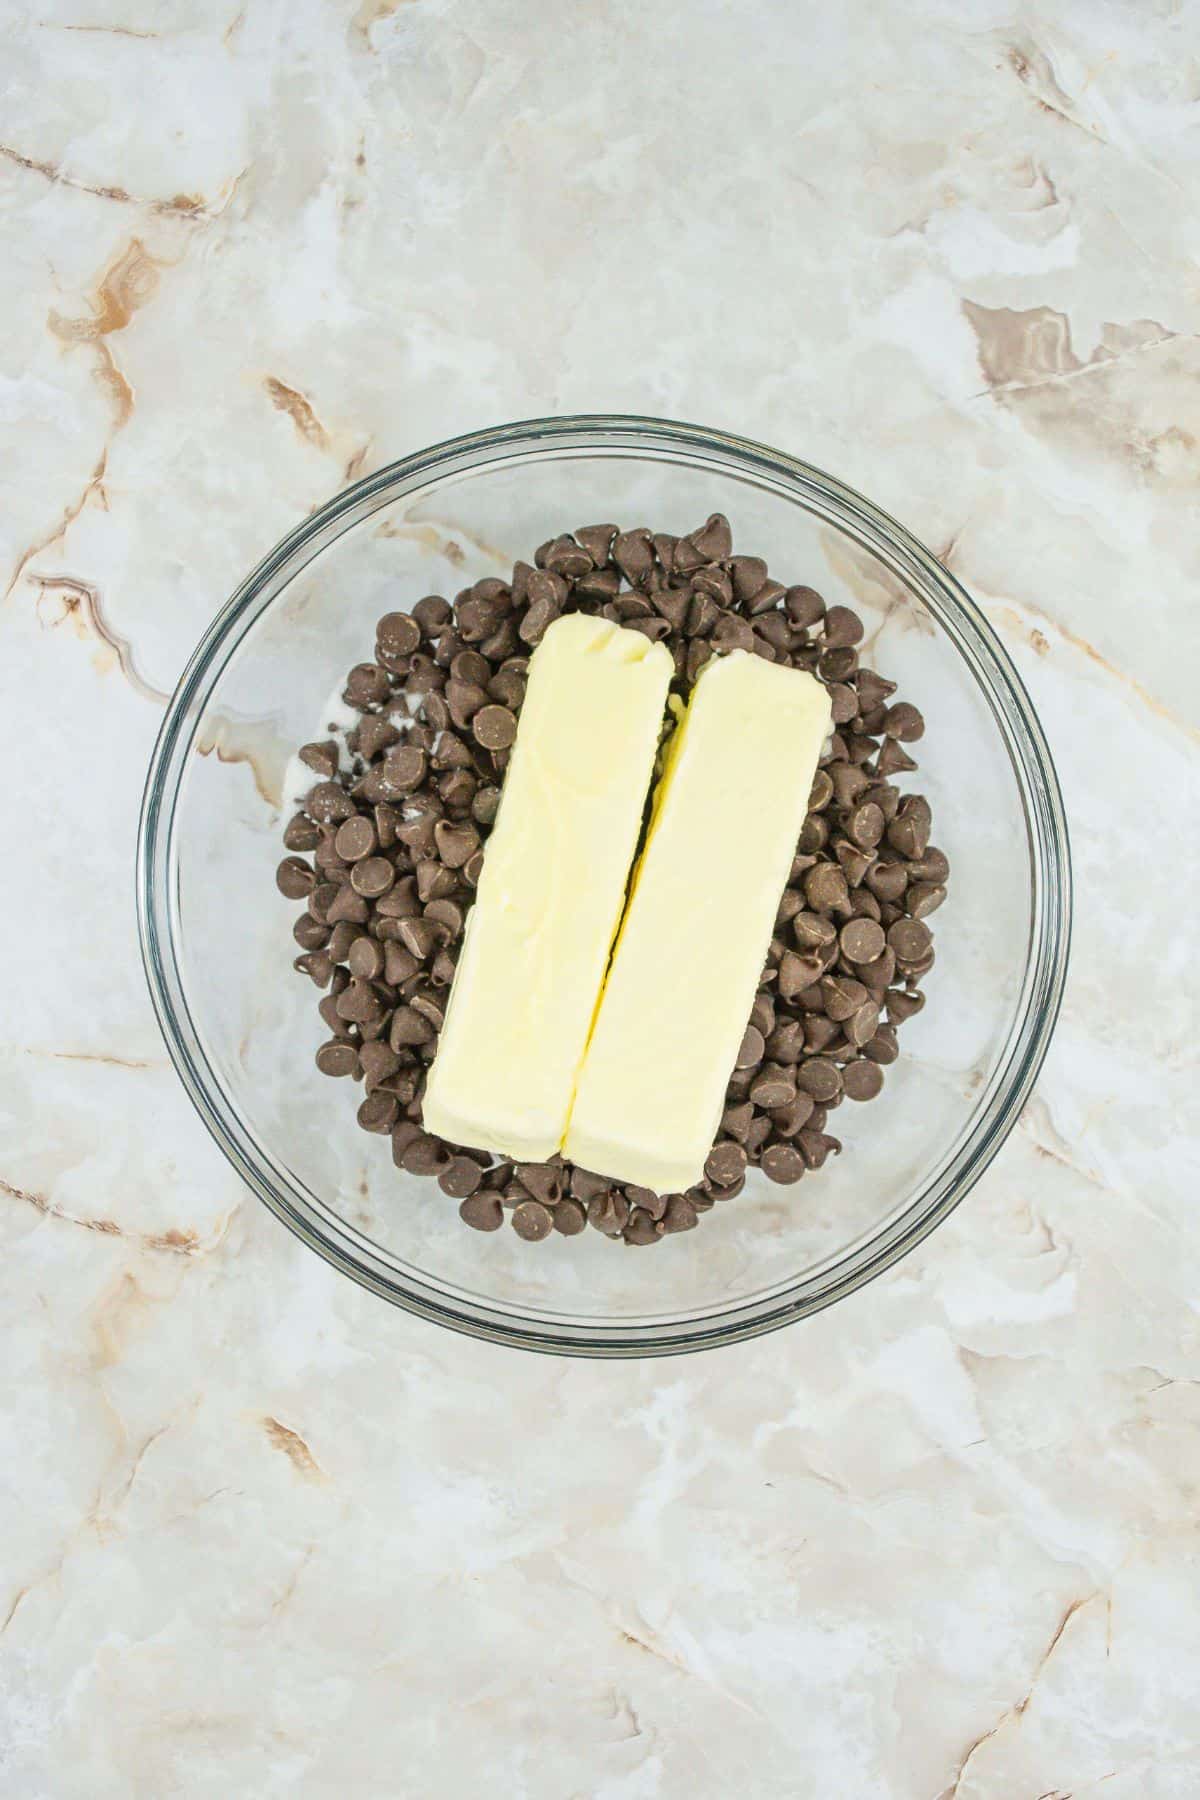
- Meanwhile, in a large, microwave-safe bowl, combine 1 cup (2 sticks) softened unsalted butter, 16 ounces semi-sweet chocolate chips, and ½ teaspoon salt.
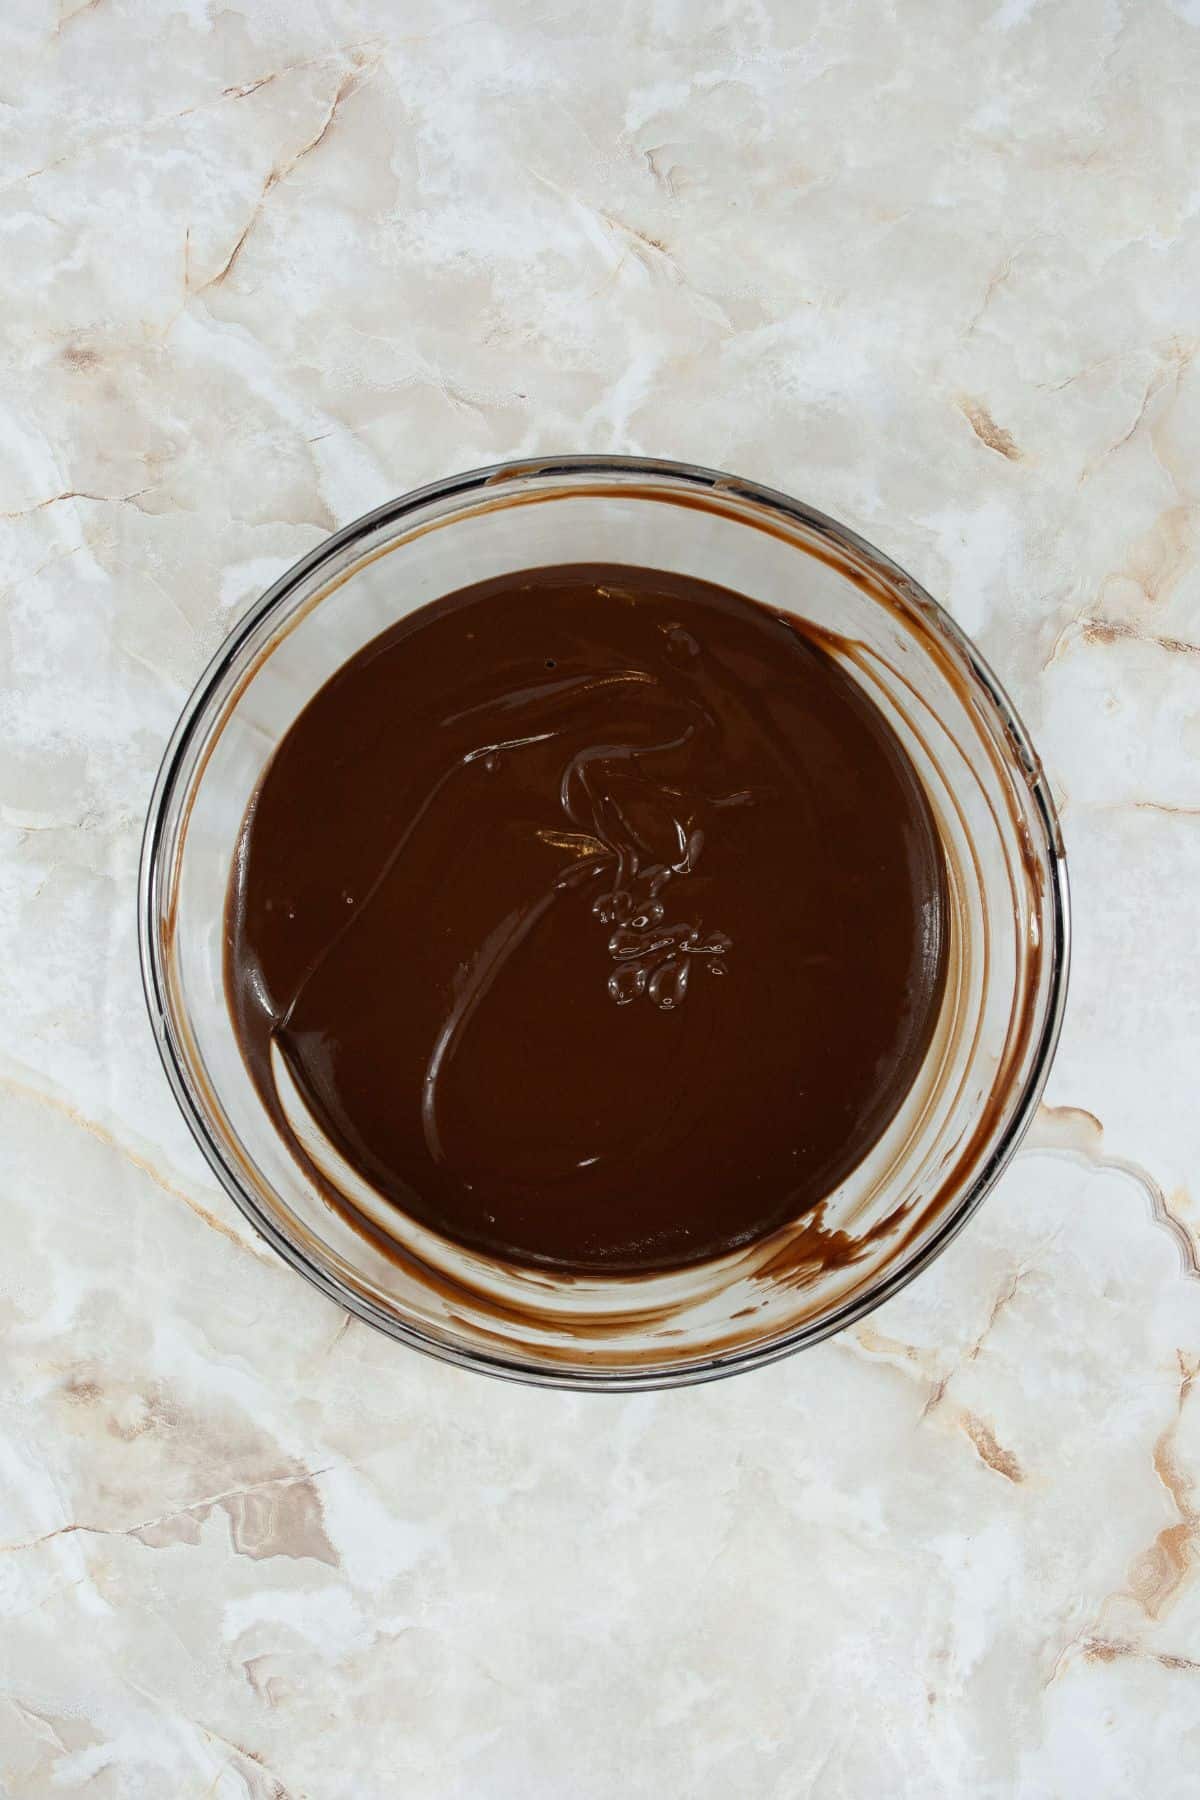
- Heat the butter and chocolate mixture in the microwave in 30-second intervals, stirring well after each round. It should take about 1:30–2:00 minutes to melt completely into a smooth, pourable consistency. Stir thoroughly to ensure it’s fully combined. If it's pipping hot, let it cool so you don't scramble your eggs.
- Once the eggs are whipped, scoop about 1 cup of the whipped eggs into the melted chocolate mixture. Fold until well combined to temper the chocolate and avoid scrambling the eggs.
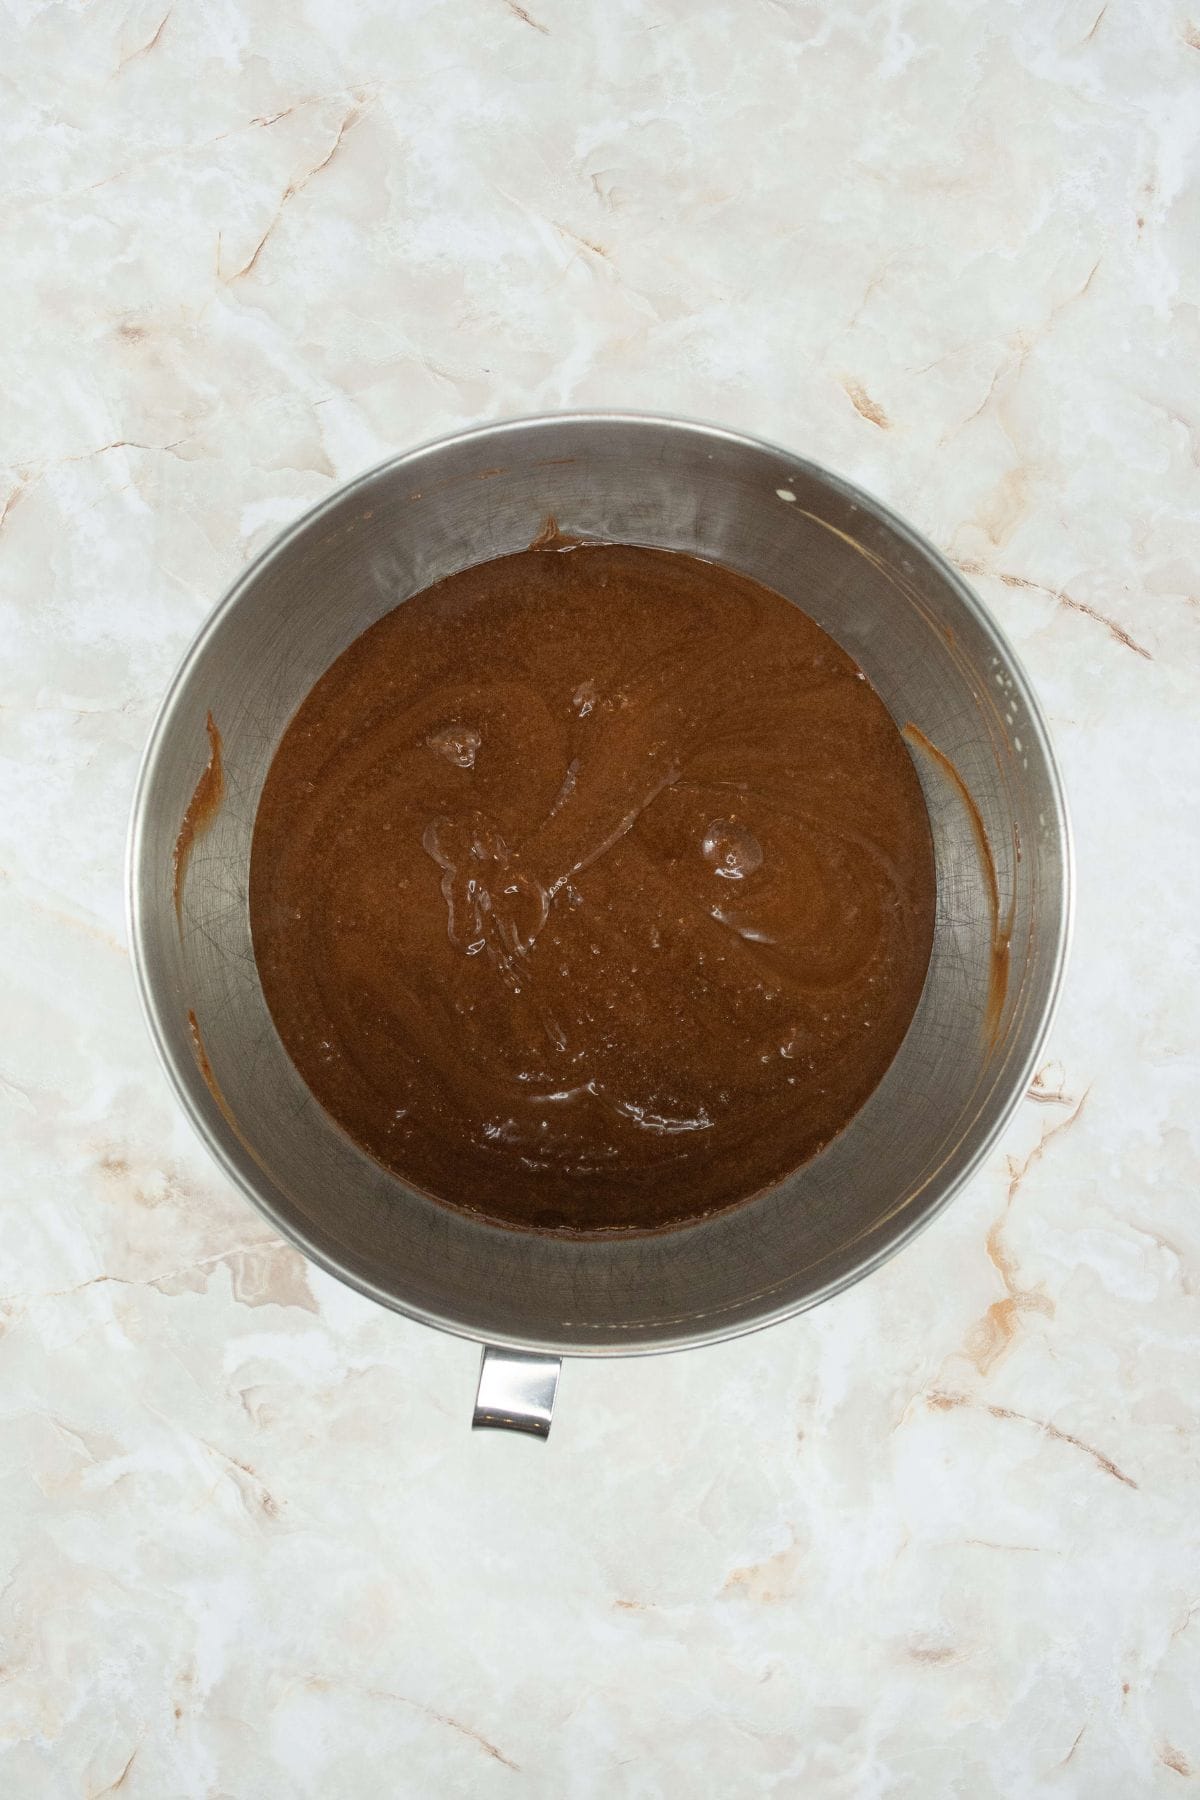
- Pour the chocolate mixture into the remaining whipped eggs in the stand mixer. Using a spatula, gently fold the mixture by hand until it’s fully combined. Be careful not to deflate the eggs.
- Pour the batter into the prepared springform pan.
- Place the springform pan into a 9×13 baking dish or high sided roasting pan. Pour enough hot water (not boiling) into the pan to create a 1-inch water bath around the springform pan.
- Bake in the preheated oven for 40–50 minutes, or until the center is set but still slightly jiggly.
- Remove the cake from the oven and the water bath. Allow it to cool completely. Once cooled, carefully remove the foil and release the springform pan.
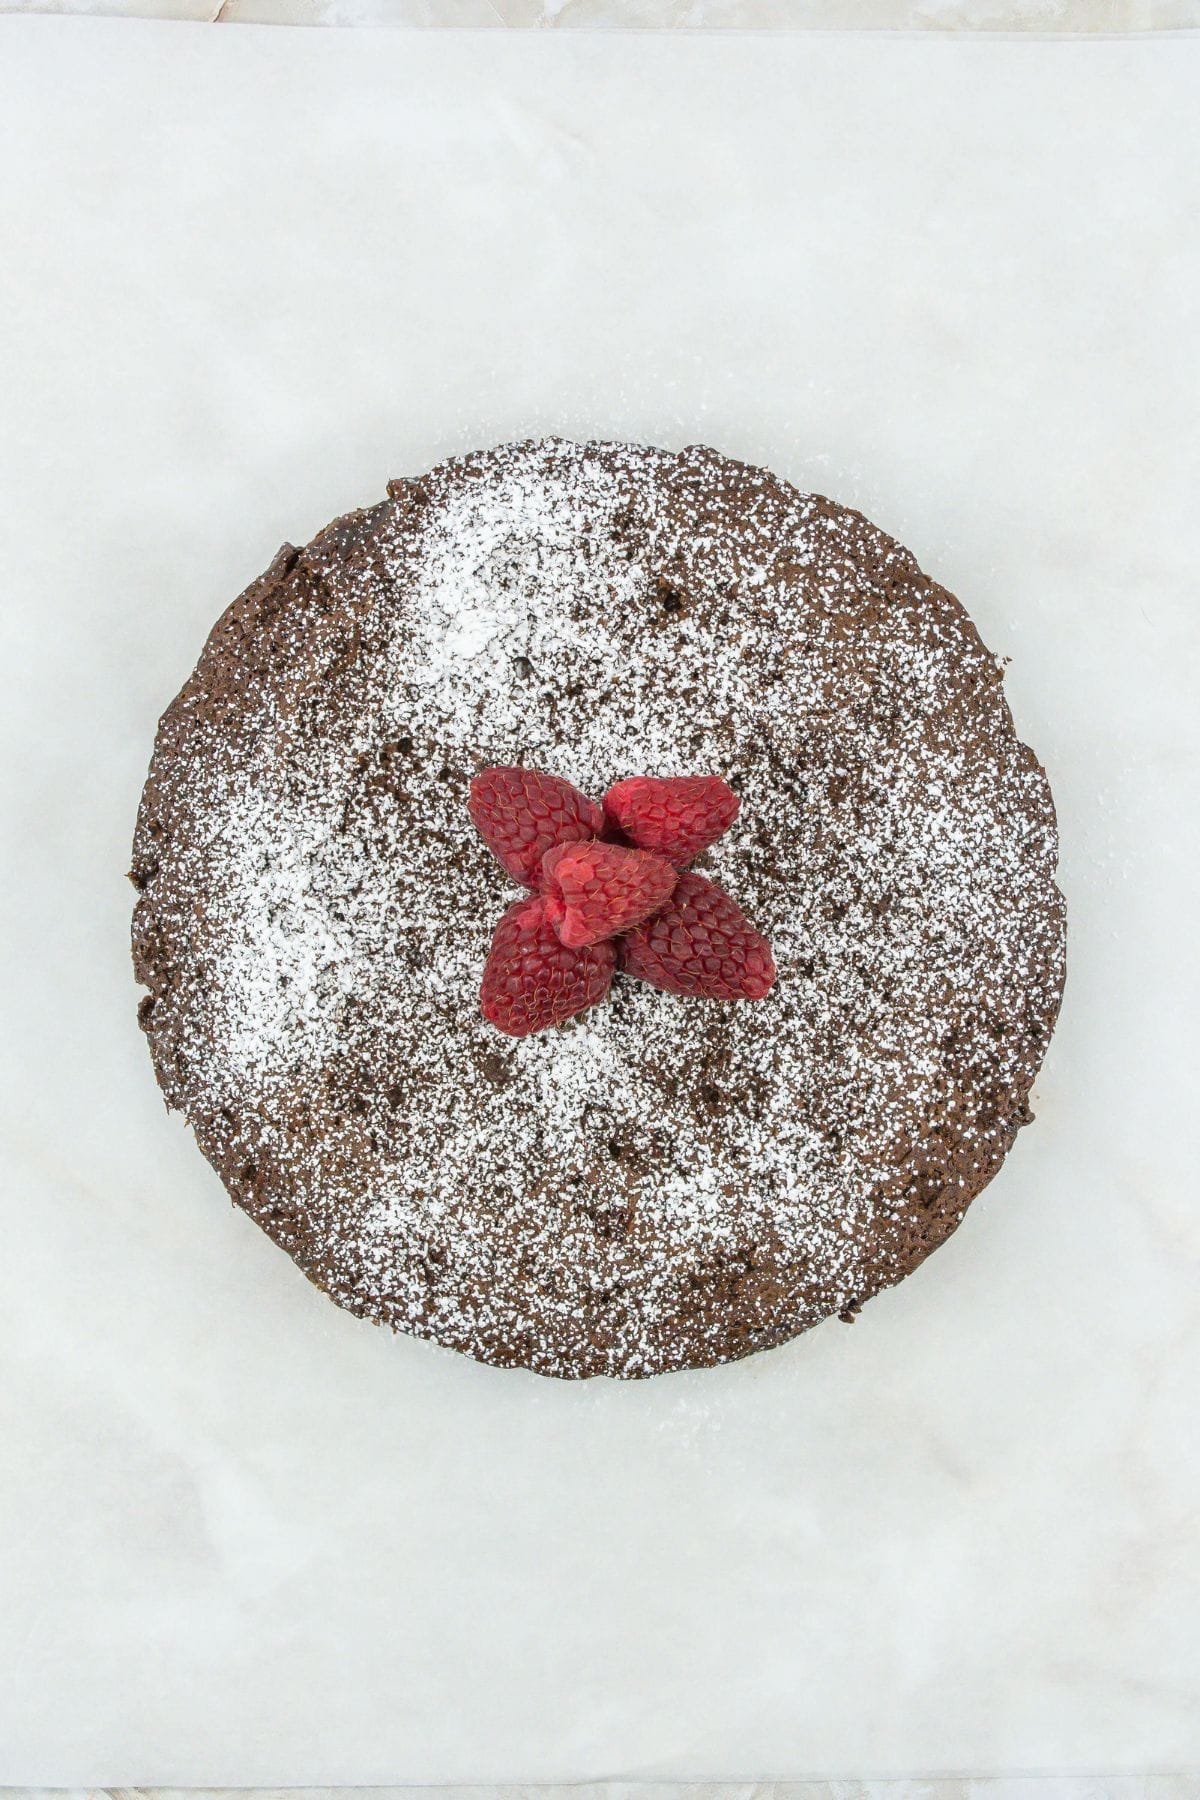
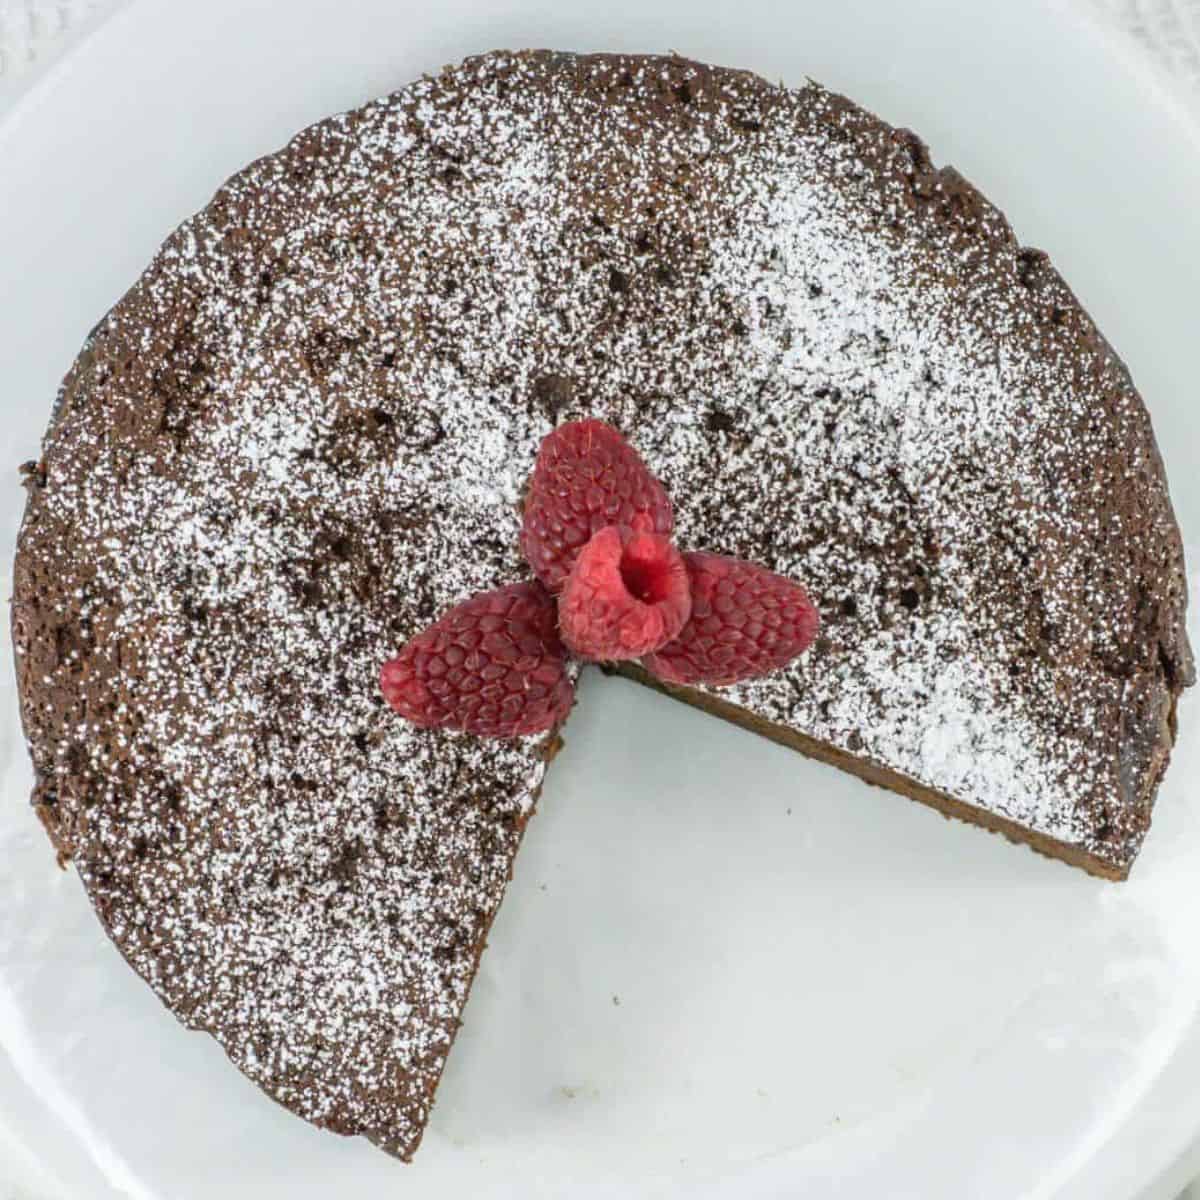
- Serve with a dusting of powdered sugar and fresh fruits, if desired.
Notes
- Whip The Eggs Like They Owe You Money: The eggs are the backbone of this cake, so whip them until they double in size and get all fluffy.
- Melt Chocolate Like a Pro: Microwave the butter and chocolate in 30-second bursts, stirring between each round until it’s smooth as silk.
- Ease Those Eggs In: Add the whipped eggs to the melted chocolate a little at a time, like you’re making peace with a temperamental toddler.
- Don’t Skip the Water Bath: I know, it’s annoying, but this is how you get a perfectly moist cake without burnt edges.
- Serve It Right: This cake shines at room temperature. Straight out of the fridge, it’s too dense.
Nutrition
Nutrition information provided is an estimate. It will vary based on cooking method and specific ingredients used.
If you try this easy 4 Ingredient Flourless Chocolate Cake recipe or any other of my recipes on Meal Planning blueprints, then don’t forget to rate the recipe and leave a comment below! I read all the comments and respond!
Make This Recipe Yours With Additions
- Instant Espresso Powder: Add a tablespoon of instant espresso powder to the melted chocolate if you want to make the chocolate flavor even more intense.
- Mini Chocolate Chips: Want to take this cake from rich to downright sinful? Fold in half a cup of mini chocolate chips after you mix the batter. They’ll melt into little pockets of gooey goodness.
- Vanilla Extract: A teaspoon of vanilla in the melted chocolate can add a little sweetness and make the cake taste extra luxurious. It’s subtle but worth it.
- Citrus Zest: Add a teaspoon of orange zest to the batter for a chocolate-orange combo that tastes way more complicated than it is.
- Sea Salt Flakes: A sprinkle of flaky sea salt on top before serving turns this cake into a salty-sweet masterpiece. Plus, it looks like something straight out of a trendy dessert shop.
Prep Ahead
Bake It Up 2 Days Ahead of Time: This cake actually gets better with time. Make it up to 2 days ahead, wrap it tight, and stash it in the fridge. The flavors do their thing while you handle everything else on your to-do list.
Never Lose This Recipe—Email It to Yourself!
Cool Completely Before Storing: Don’t even think about skipping this step. If you try to move it while it’s still warm, you’ll end up with a puddle instead of a cake. Patience, my friend.
When It’s Time To Serve Room Temp Is Best: Pull it out of the fridge about 45-60 minutes before serving. Nobody wants a cold, dense cake—it’s chocolate, not a brick.
Decorate It When Serving: Hold off on the powdered sugar, whipped cream, or berries until just before serving. Nobody wants a soggy, sad cake topper.
How to store 4 Ingredient Flourless Chocolate Cake
- Cake can be stored covered or in an airtight container at room temperature for up to 2 days or in the fridge for 3 days.
Freezing Your Flourless Chocolate Cake
- Cool It First: Let the cake cool completely before attempting to freeze it. Any warmth will create condensation, which can lead to freezer burn—not what we’re going for here.
- Wrap It Tight: Once cooled, wrap the cake tightly in plastic wrap, then add a layer of aluminum foil. Double wrapping keeps the cake protected from freezer odors and prevents it from drying out.
- Freeze Flat: Place the cake on a flat surface in the freezer to avoid any weird warping. If you’re freezing individual slices, lay them on a parchment-lined tray first, freeze until firm, then wrap them up individually.
- Thaw Gently: When you’re ready to enjoy, let the cake thaw in the fridge overnight. Bring it to room temperature before serving for the best texture and flavor.
- Shelf Life: The cake can be frozen for up to 3 months. After that, it’s still edible, but the texture might start to degrade—if it even lasts that long without being eaten.
Quick Recipe Help and Common Questions
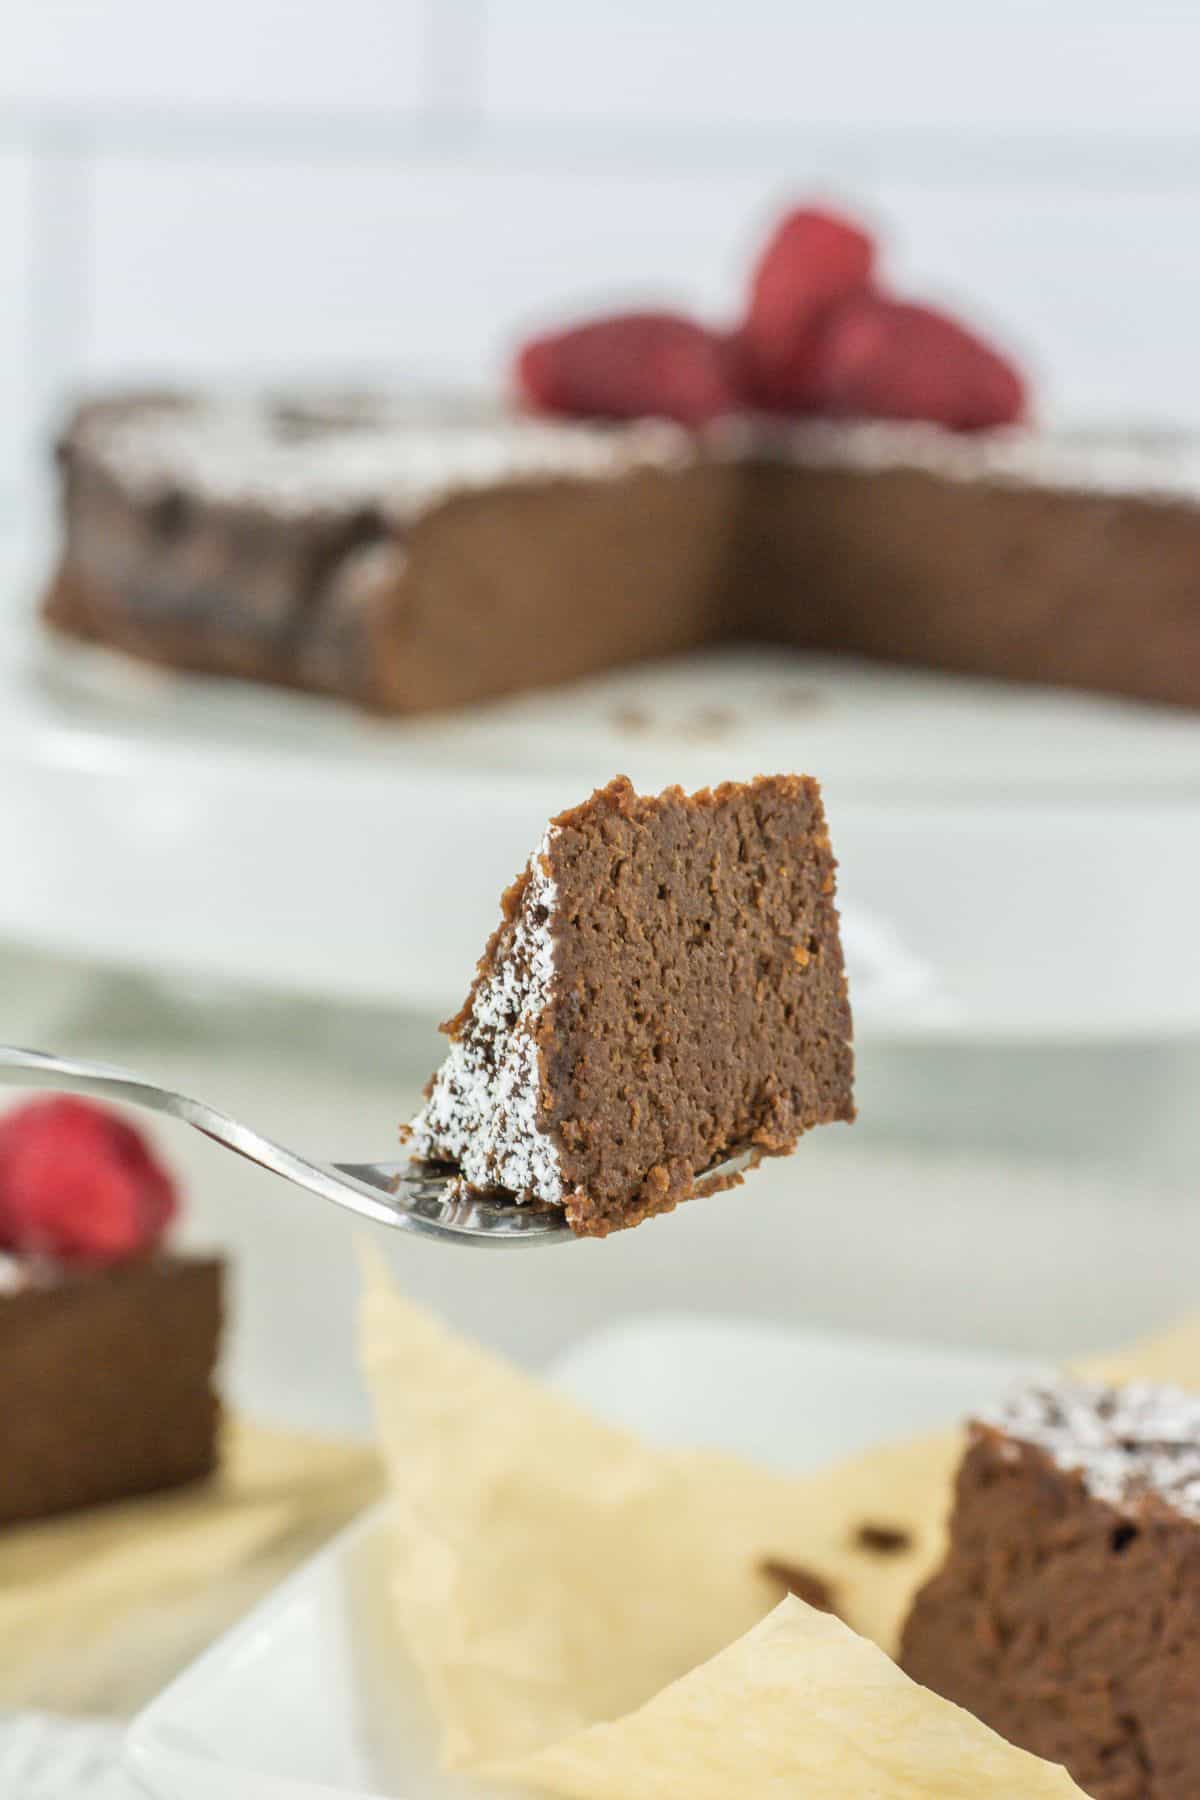
Why is my cake soo dense?
It’s supposed to be dense, but if it feels like a chocolate brick, your eggs probably didn’t get whipped enough. Whip them until they double in size—seriously, don’t skimp. The eggs are the oomph here.
Why did my cake crack on top?
Cracks are basically a flourless cake’s signature look. If it bothers you, cover it with powdered sugar, whipped cream, or literally anything else. No one’s judging the cracks once they’re eating it.
Why is my cake gooey in the middle?
You might’ve pulled it out too soon. Check it with a toothpick—it should come out with some moist crumbs, not wet batter. If it’s underdone, throw it back in the oven for a few minutes (and yes, keep the water bath).
Why is my chocolate clumpy?
You probably overheated it. Chocolate is picky, so melt it in 30-second bursts and stir like it’s your job. If it’s too far gone, sorry—you’re starting over. (Pro tip: don’t walk away while microwaving chocolate.)
How do I know when it’s done?
The edges should be set, and the center should jiggle a little—like a cheesecake. If it’s firm all the way through, congrats, you’ve just overbaked it.