Sour Cream Cookies
Soft, chewy sour cream cookies that are great for frosting. They’re a bit more work, but totally worth it when you’re in the mood to bake something a little special.
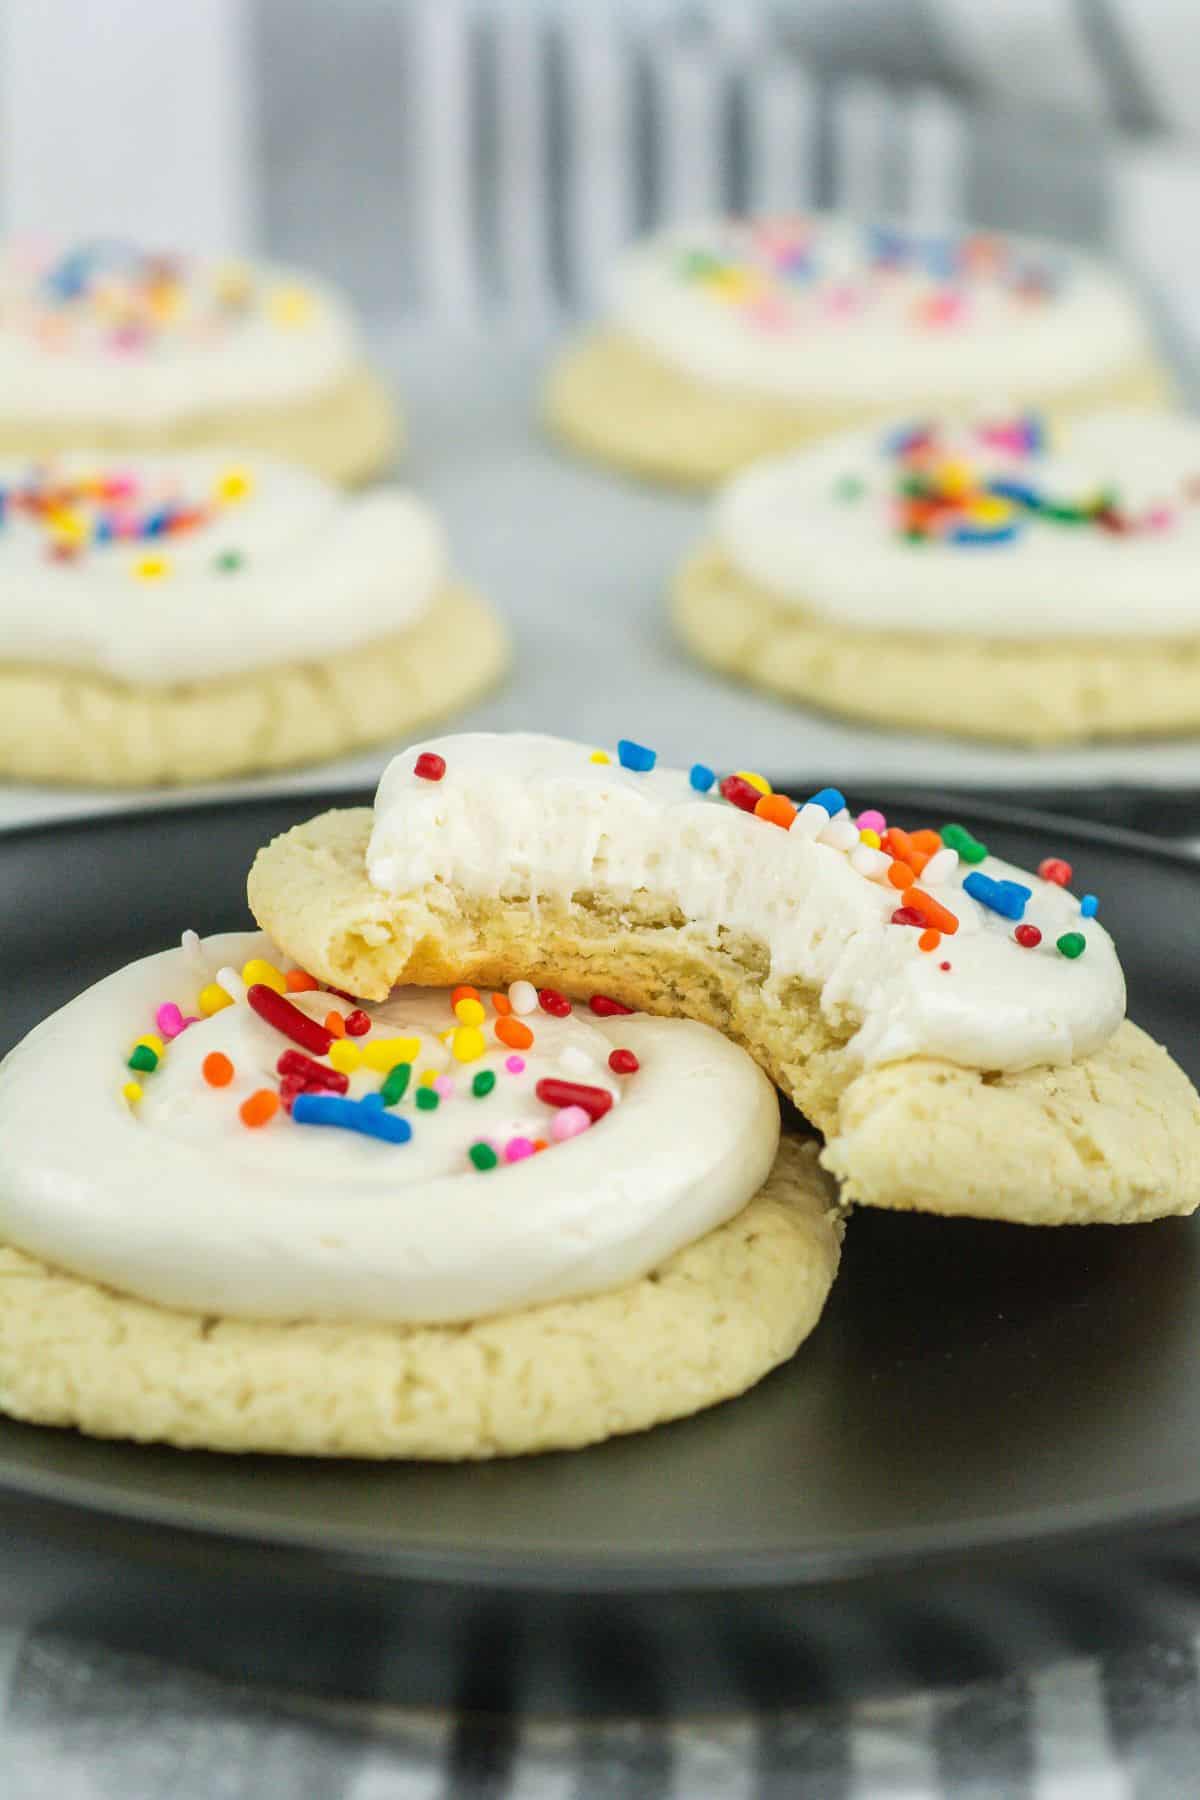
These sour cream cookies are a bit of a Goldilocks situation, they’re soft but still chewy, not too sweet, and are great for frosting, but can be eaten without it!
I’ll be honest, these aren’t in my usual cookie rotation because they take a little extra effort (and let’s face it, most of the time I’m all about easy wins in the kitchen). But when I’m feeling like going the extra mile, these sour cream cookies are so worth it. They’re a treat I pull out for special occasions or when I just want to spoil my family a little.
How to make Sour Cream Cookies
For detailed step-by-step instructions, be sure to check out the full recipe in the recipe card at the bottom of the page.

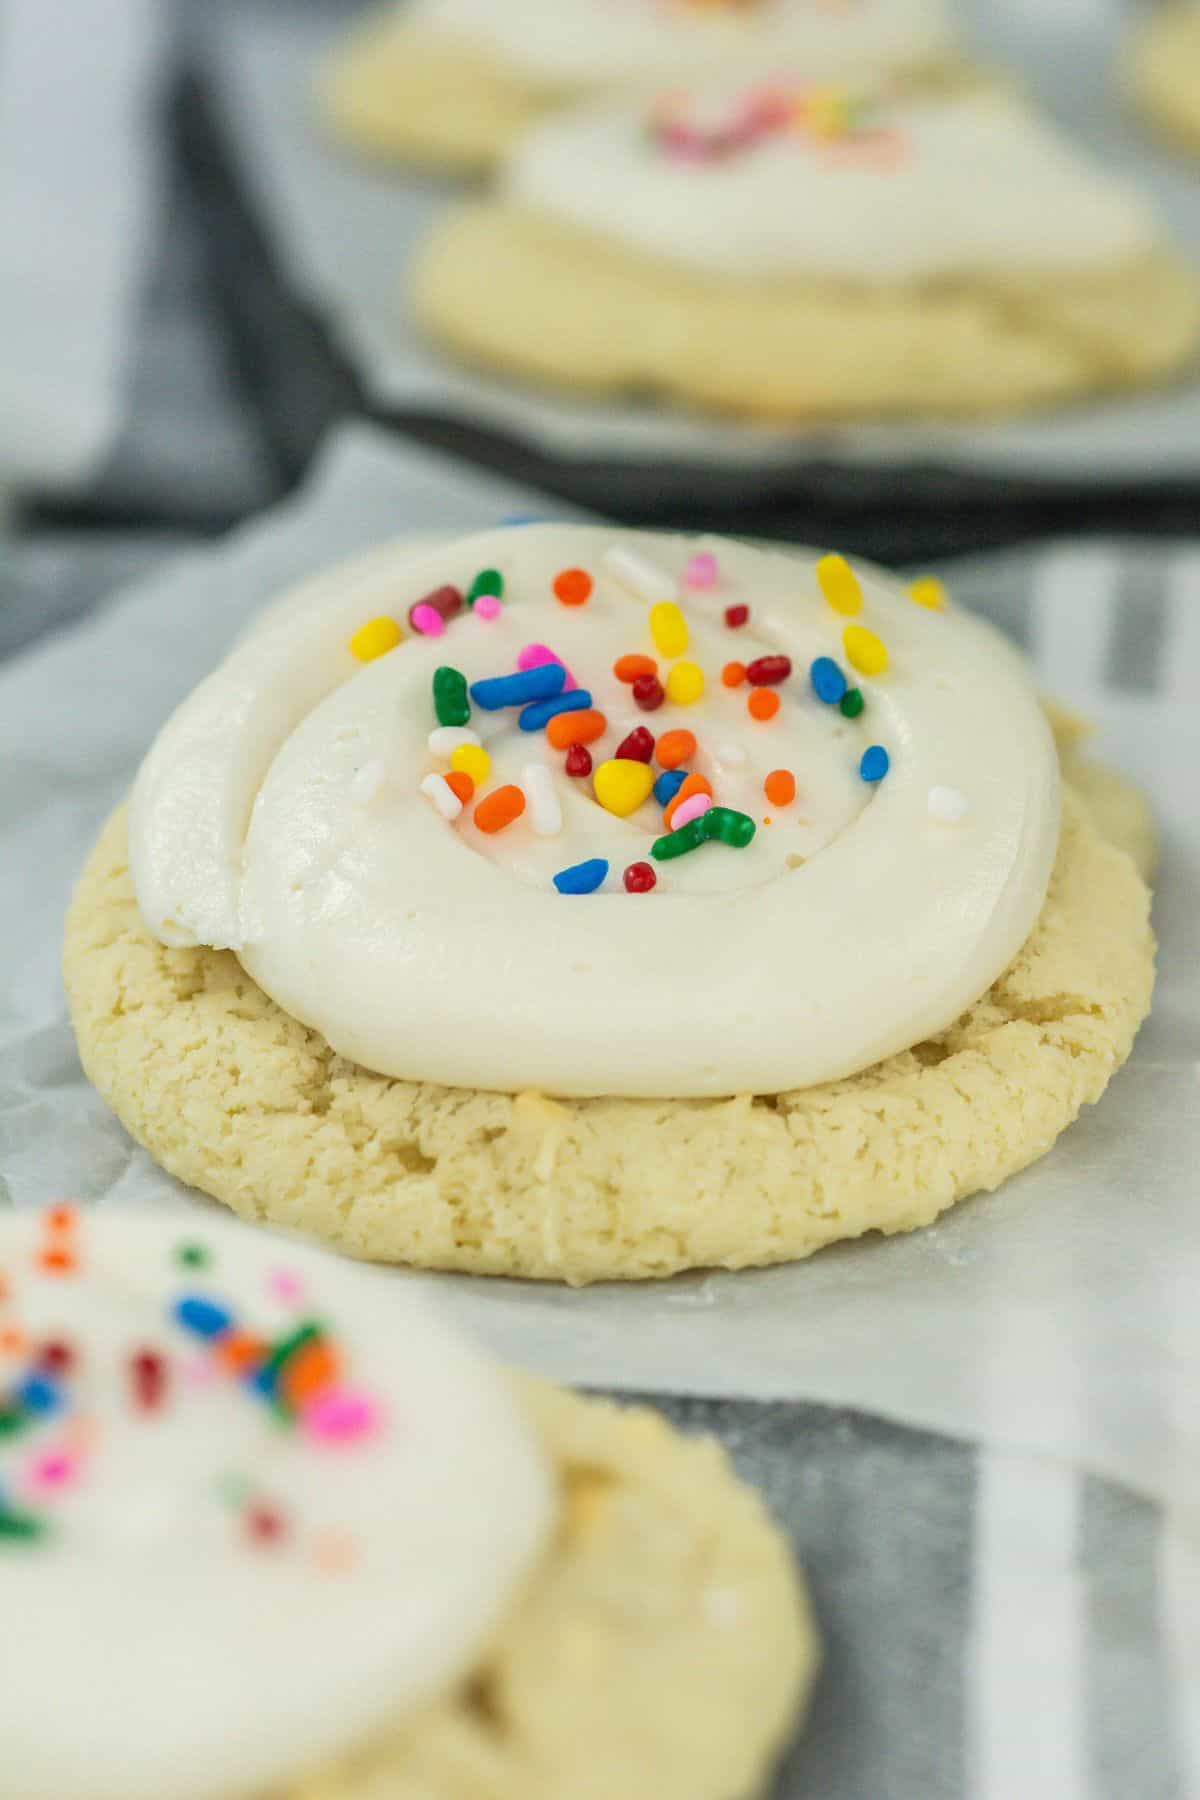
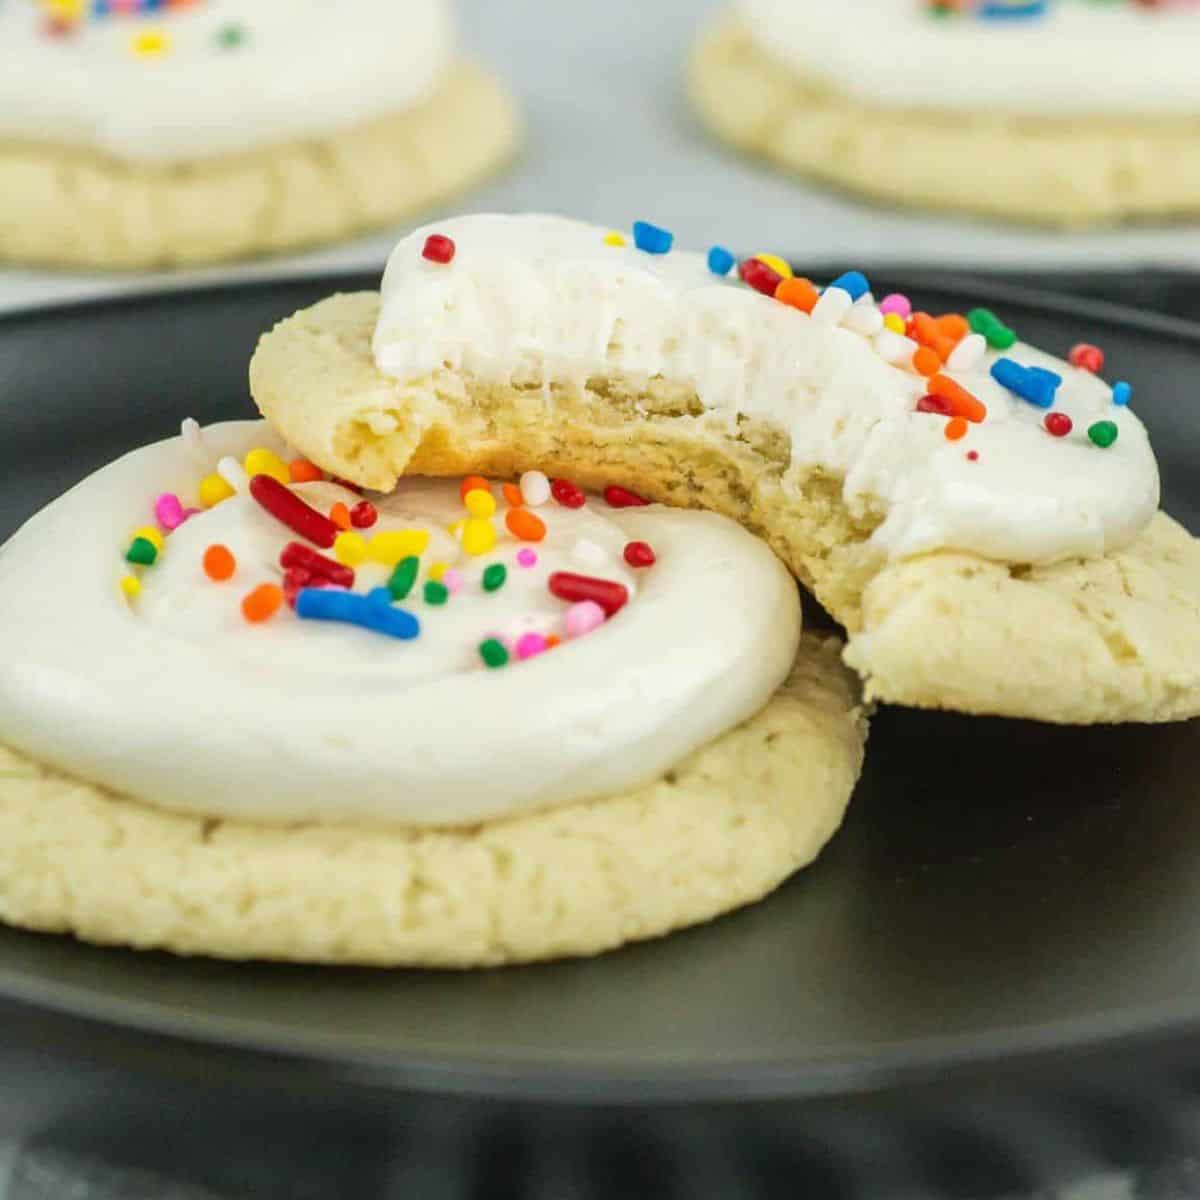
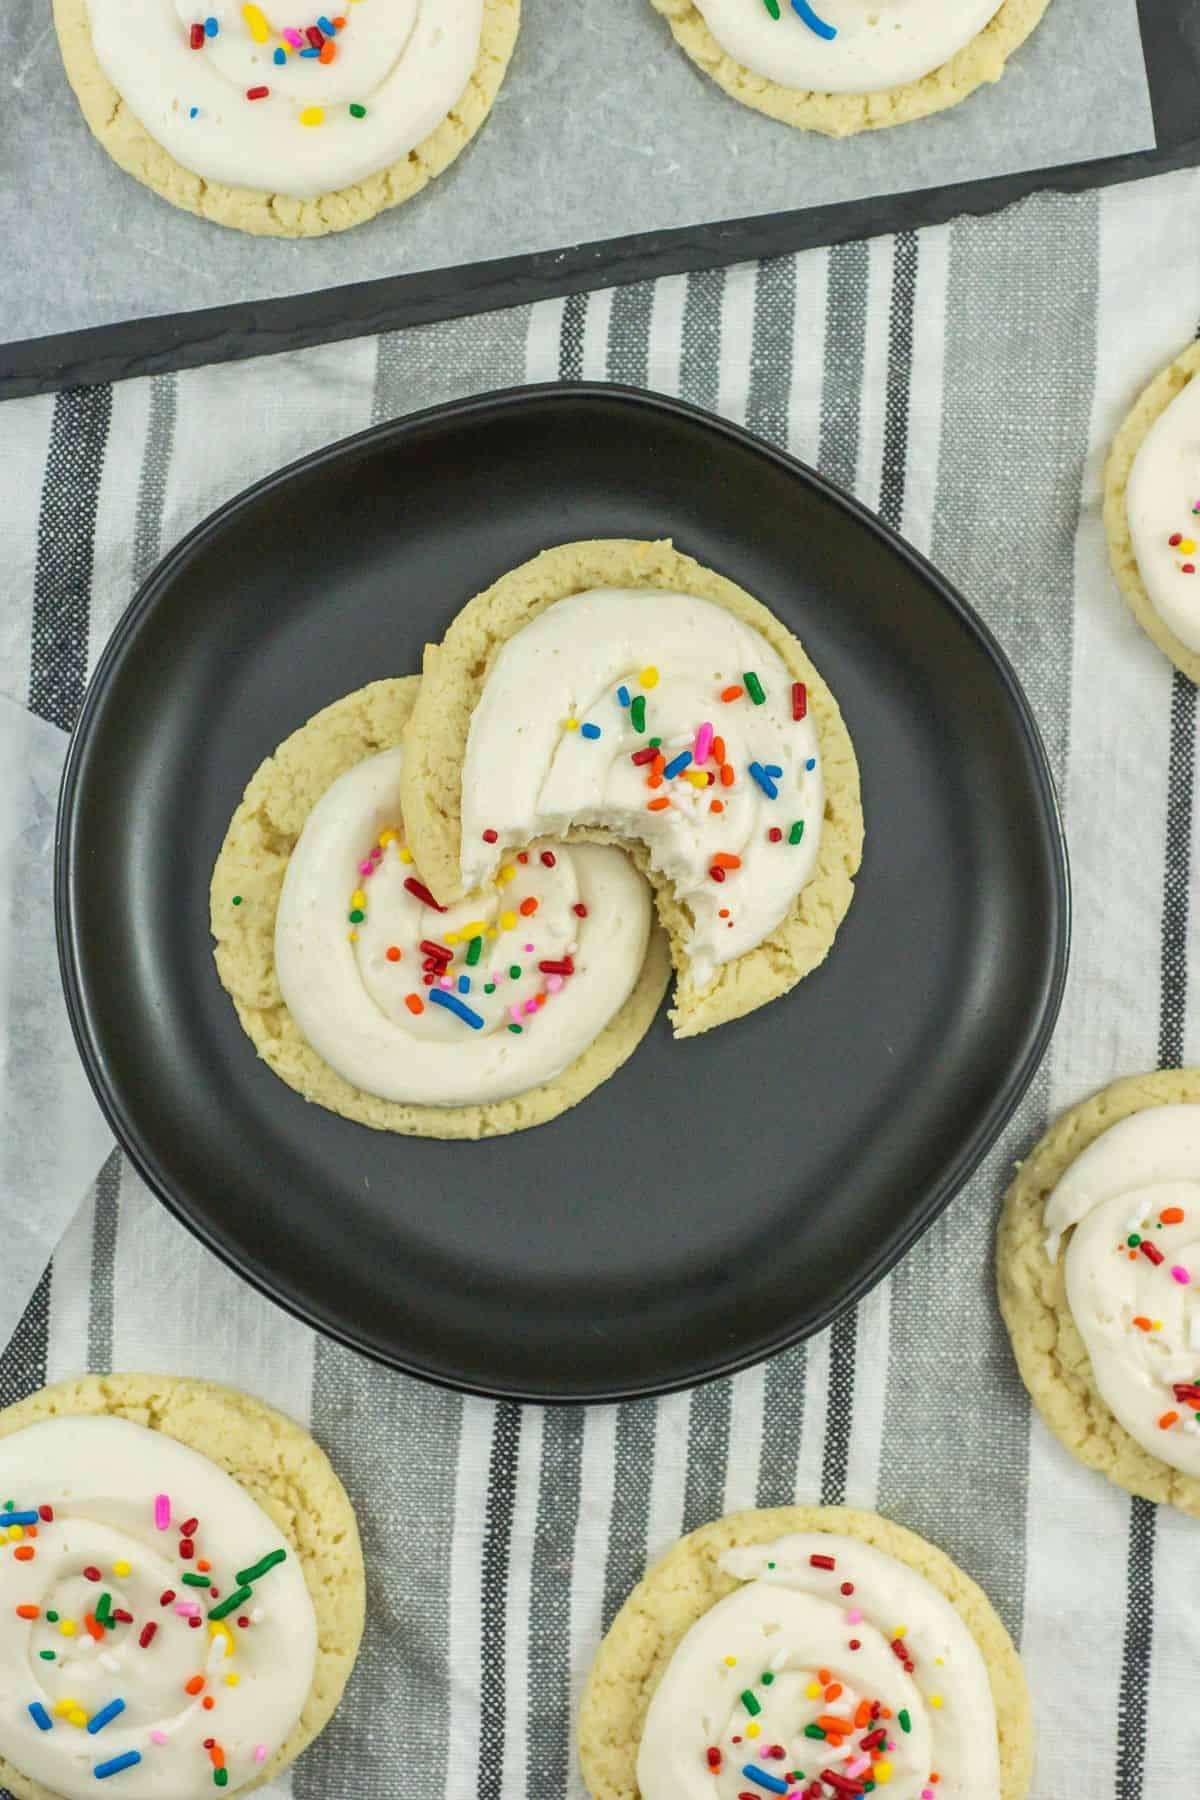
Once the cookies are cool, pipe a spiral of frosting on each one. Decorate with sprinkles, if desired.

Sour Cream Cookies With Frosting
Never Lose This Recipe—Email It to Yourself!
Equipment
Ingredients
For the Sour Cream Cookies
- ½ cup unsalted butter softened
- 2 cups granulated sugar
- 4 large eggs room temperature
- 1½ teaspoons pure vanilla extract
- ⅔ cup sour cream
- ½ teaspoon baking soda
- 1 tablespoon baking powder aluminum free
- 1 teaspoon salt
- 4 cups all-purpose flour
Frosting Ingredients (optional)
- ½ cup unsalted butter softened
- 1 teaspoon pure vanilla extract
- 2 tablespoons whole milk
- 2 ½ cups powdered sugar sifted
- Sprinkles for decoration optional
Instructions
- Preheat the oven: Set your oven to 350°F. Line your baking sheet(s) with parchment paper and set them aside.
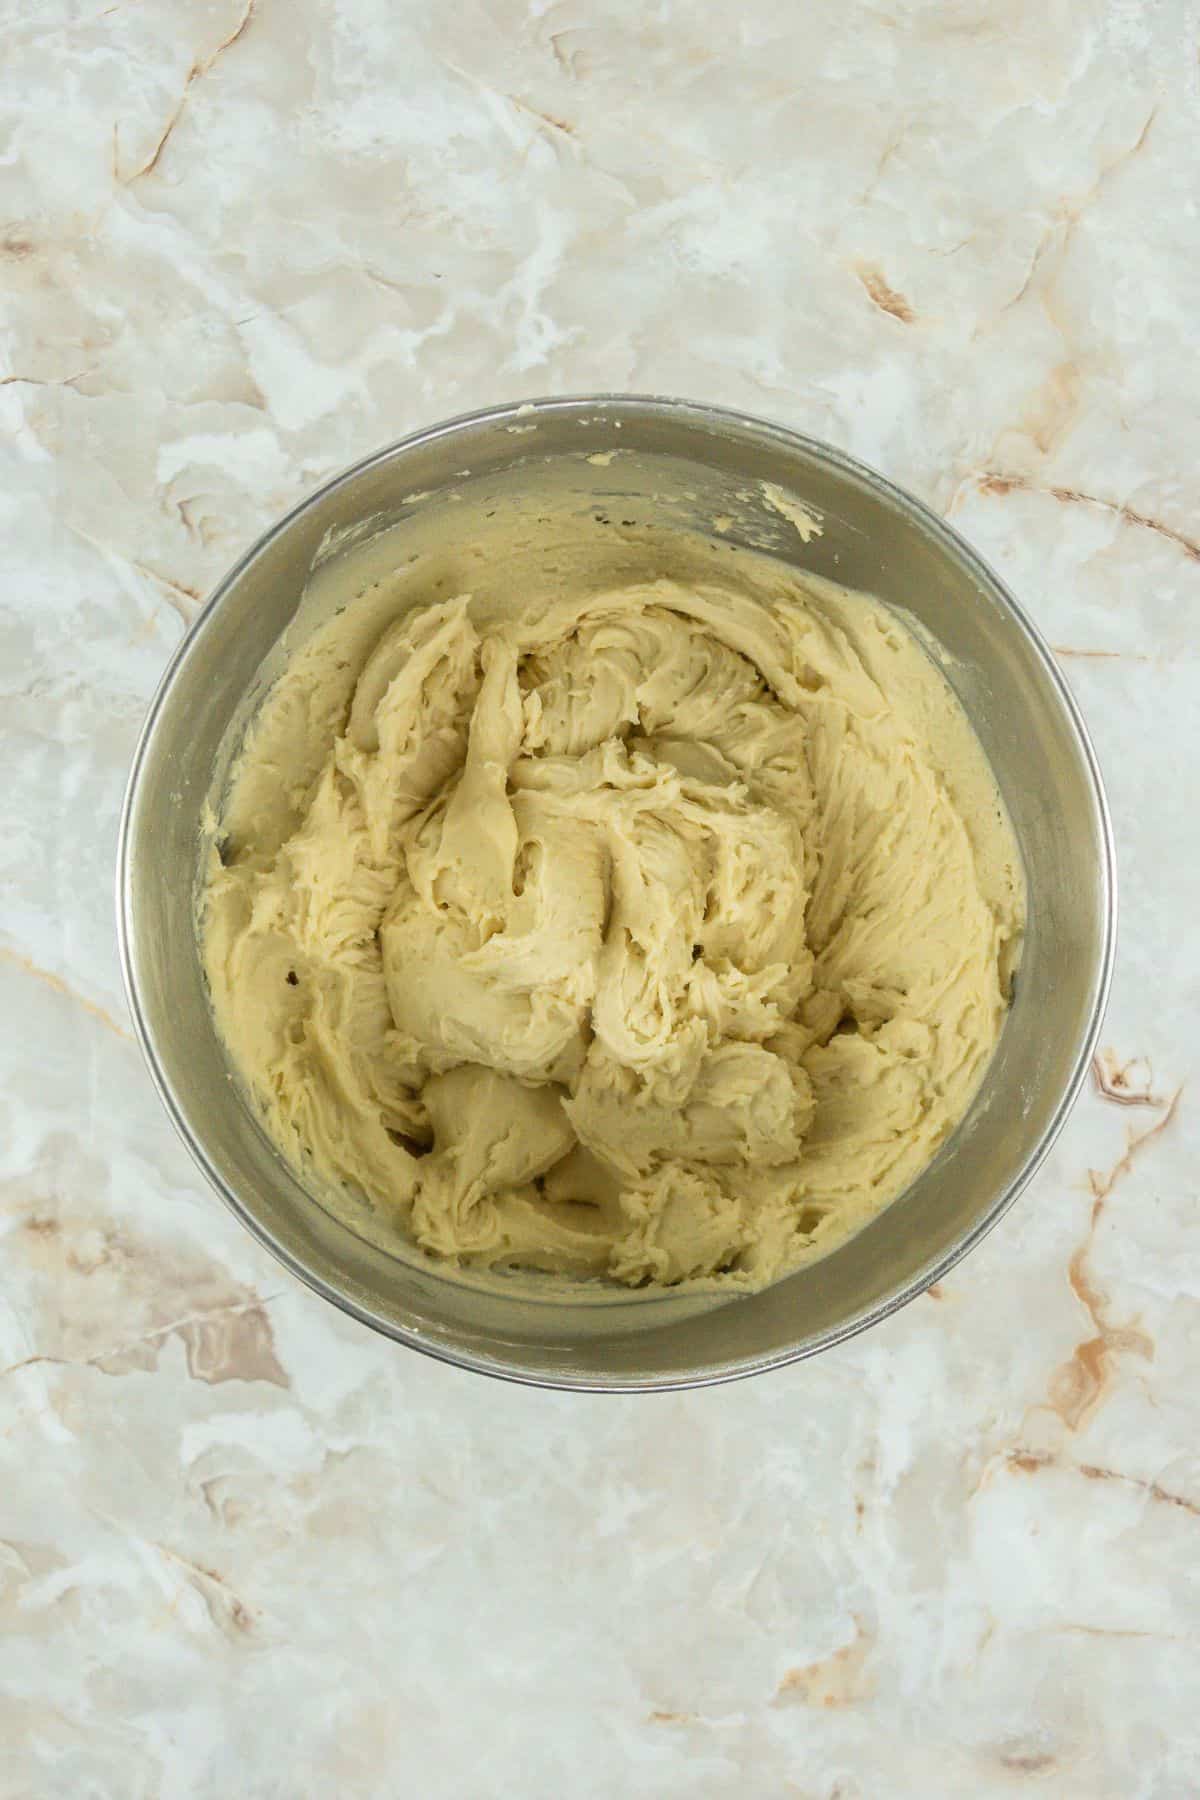
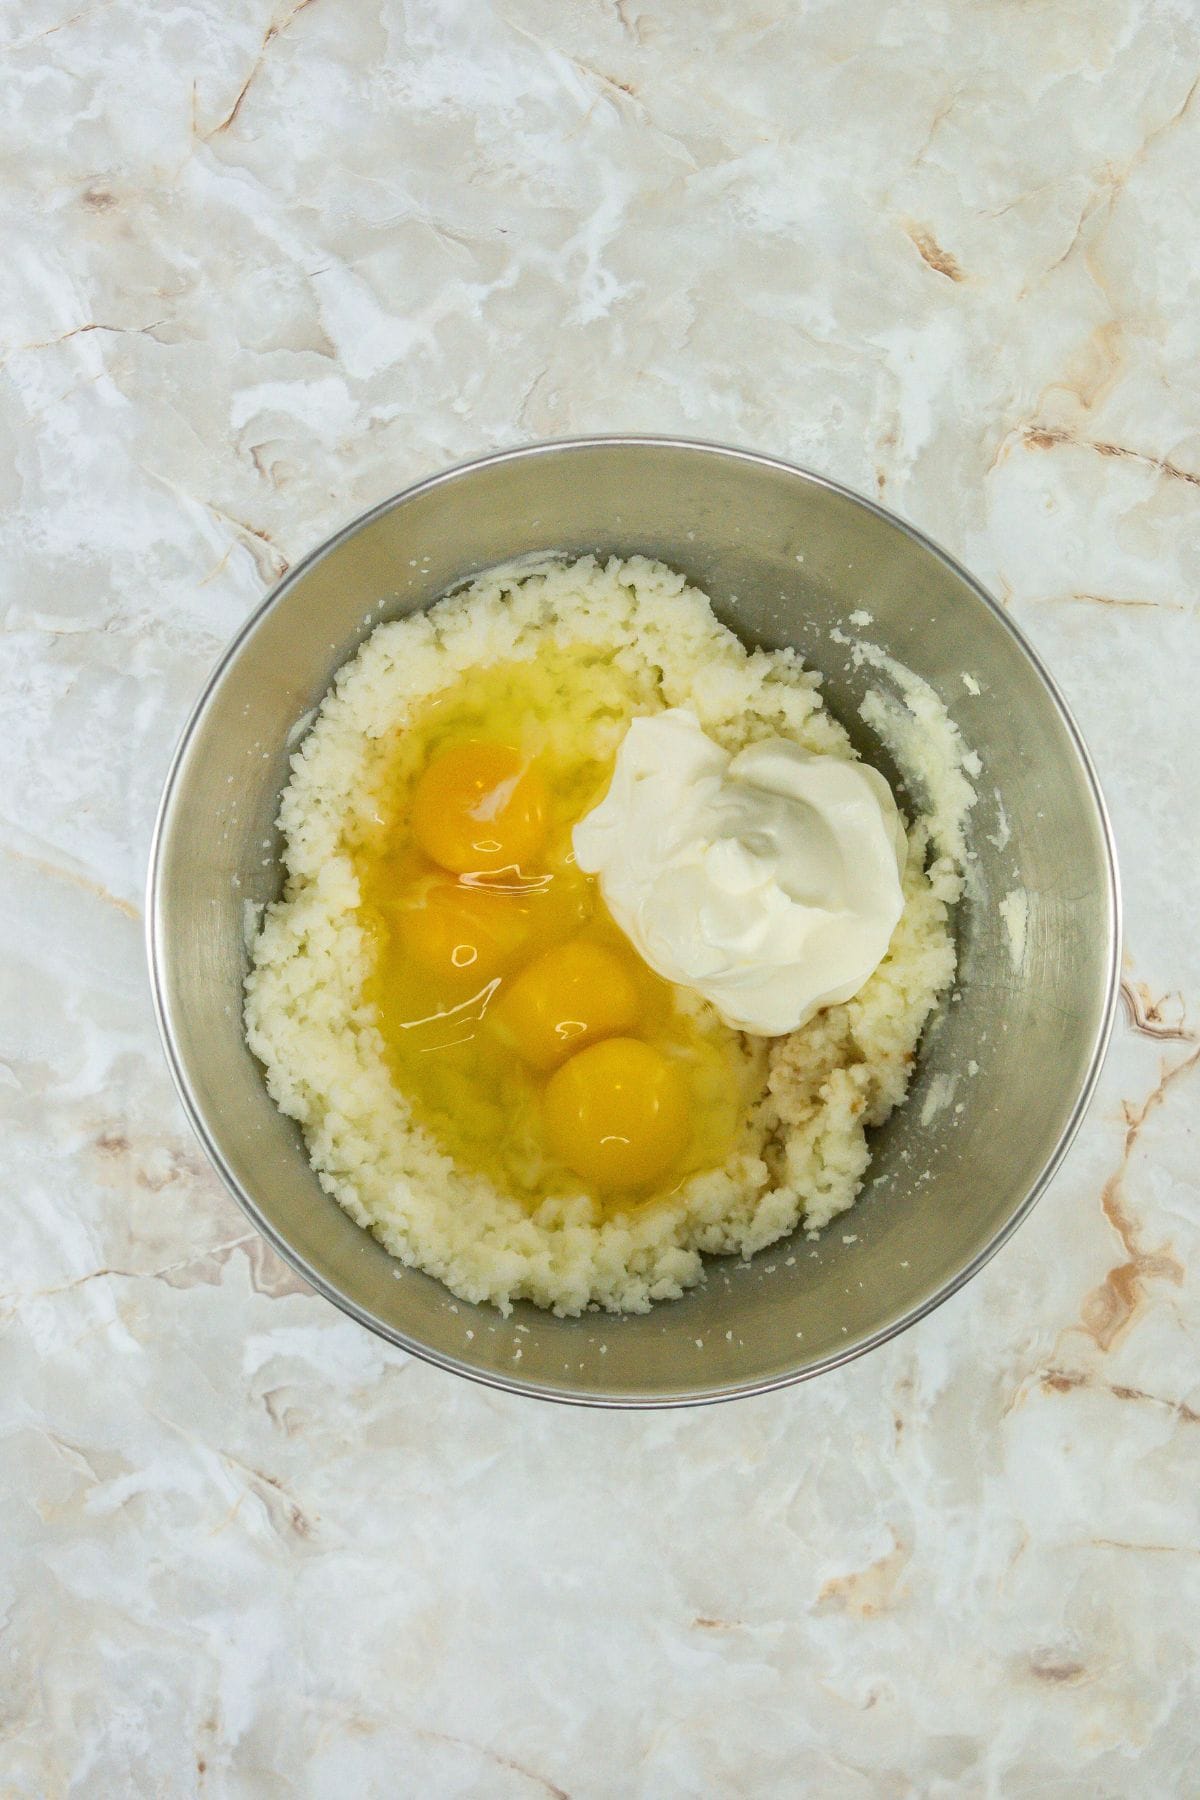
- Cream butter and sugar: In the bowl of a stand mixer fitted with the paddle attachment, combine ½ cup softened butter and 2 cups granulated sugar. Cream on medium speed until the mixture is smooth and fluffy, about 2-3 minutes.
- Add wet ingredients: Mix in 4 eggs, one at a time, ensuring each is incorporated before adding the next. Add 1 teaspoon vanilla extract and ⅔ cup sour cream, then mix on medium speed until fully combined. Scrape down the sides of the bowl as needed.
- Add dry ingredients: Combine ½ teaspoon baking soda, 3 teaspoons baking powder, 1 teaspoon salt, and 4 cups all-purpose flour together. Gradually add the dry ingredients to the wet ingredients and mix on low speed until the dough comes together, scraping down the sides of the bowl to ensure everything is incorporated.
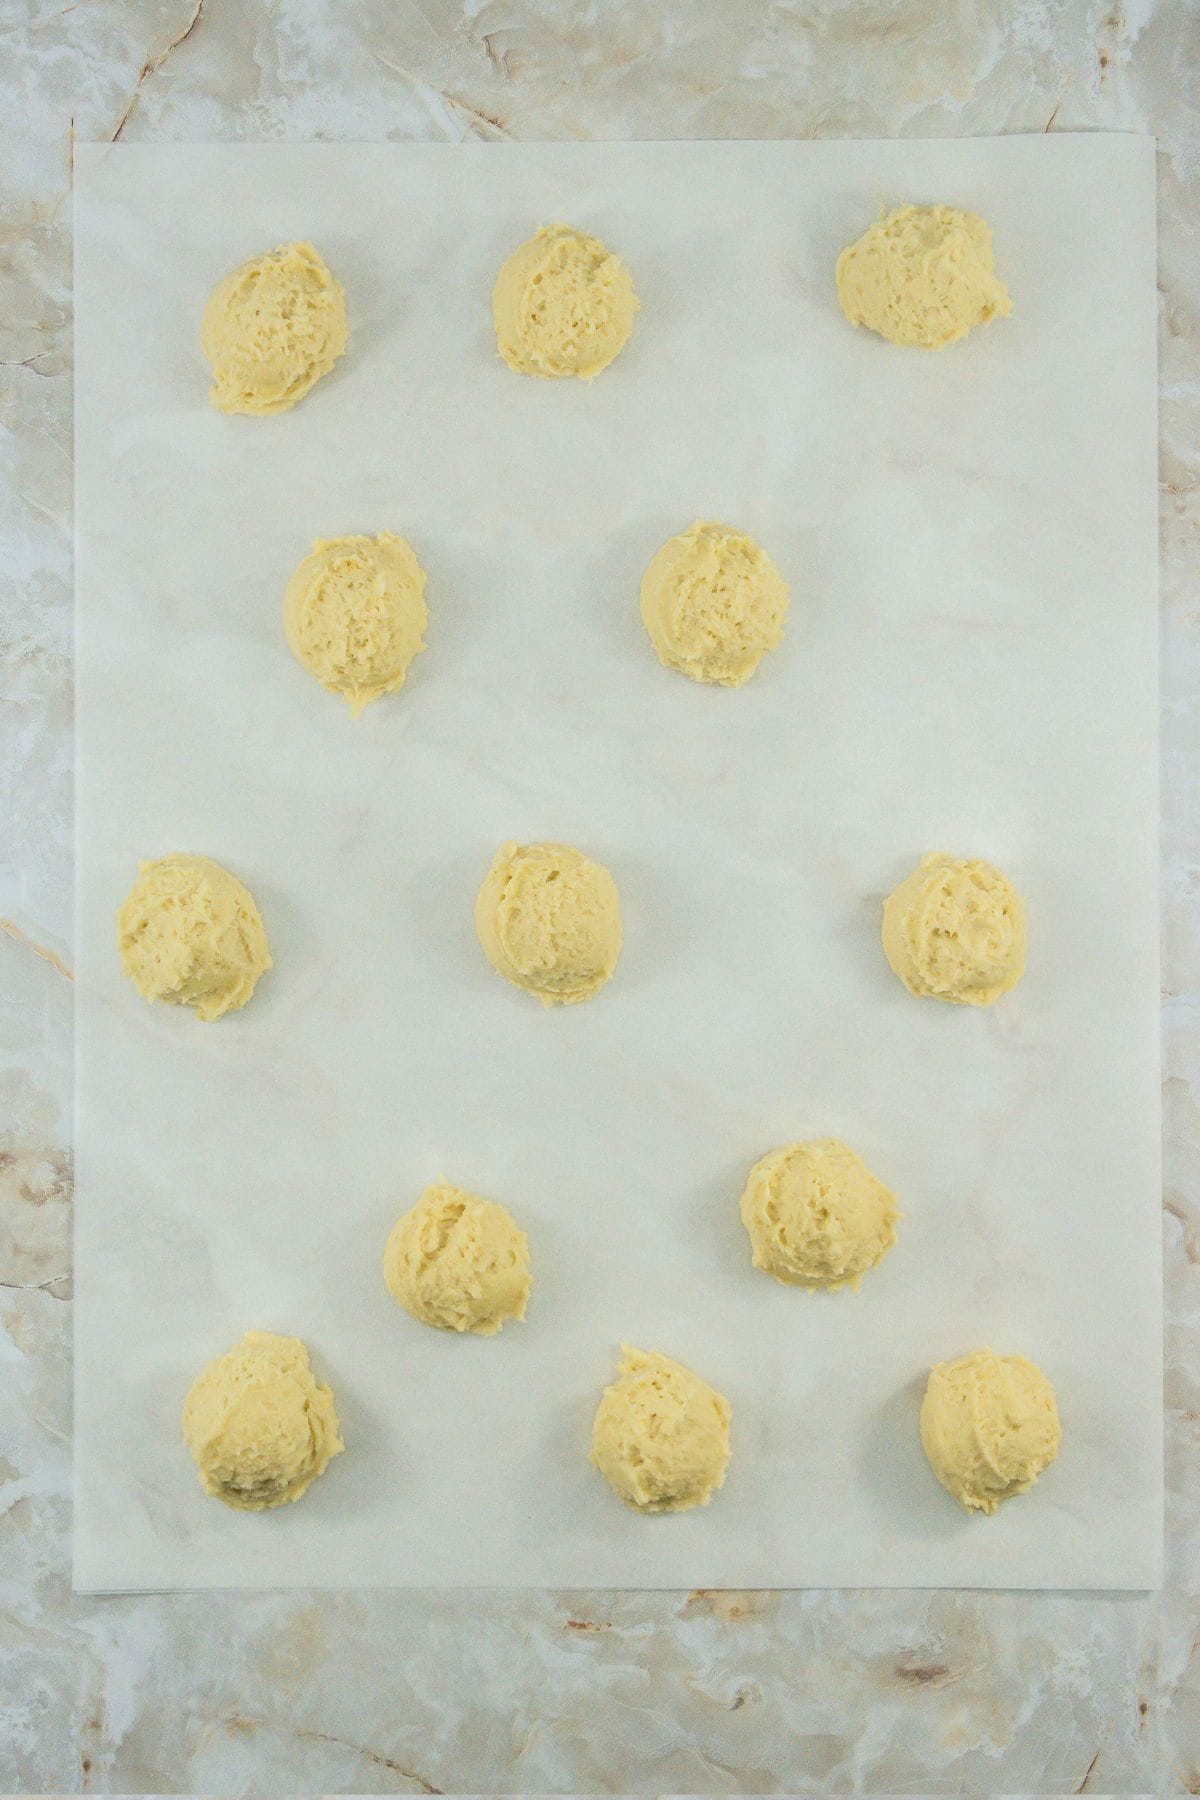
- Scoop the dough: Use a size #40 cookie scoop or tablespoon to portion out the dough into 2 tablespoon-sized balls. Place them on the prepared baking sheets, leaving at least 2 inches between each cookie.
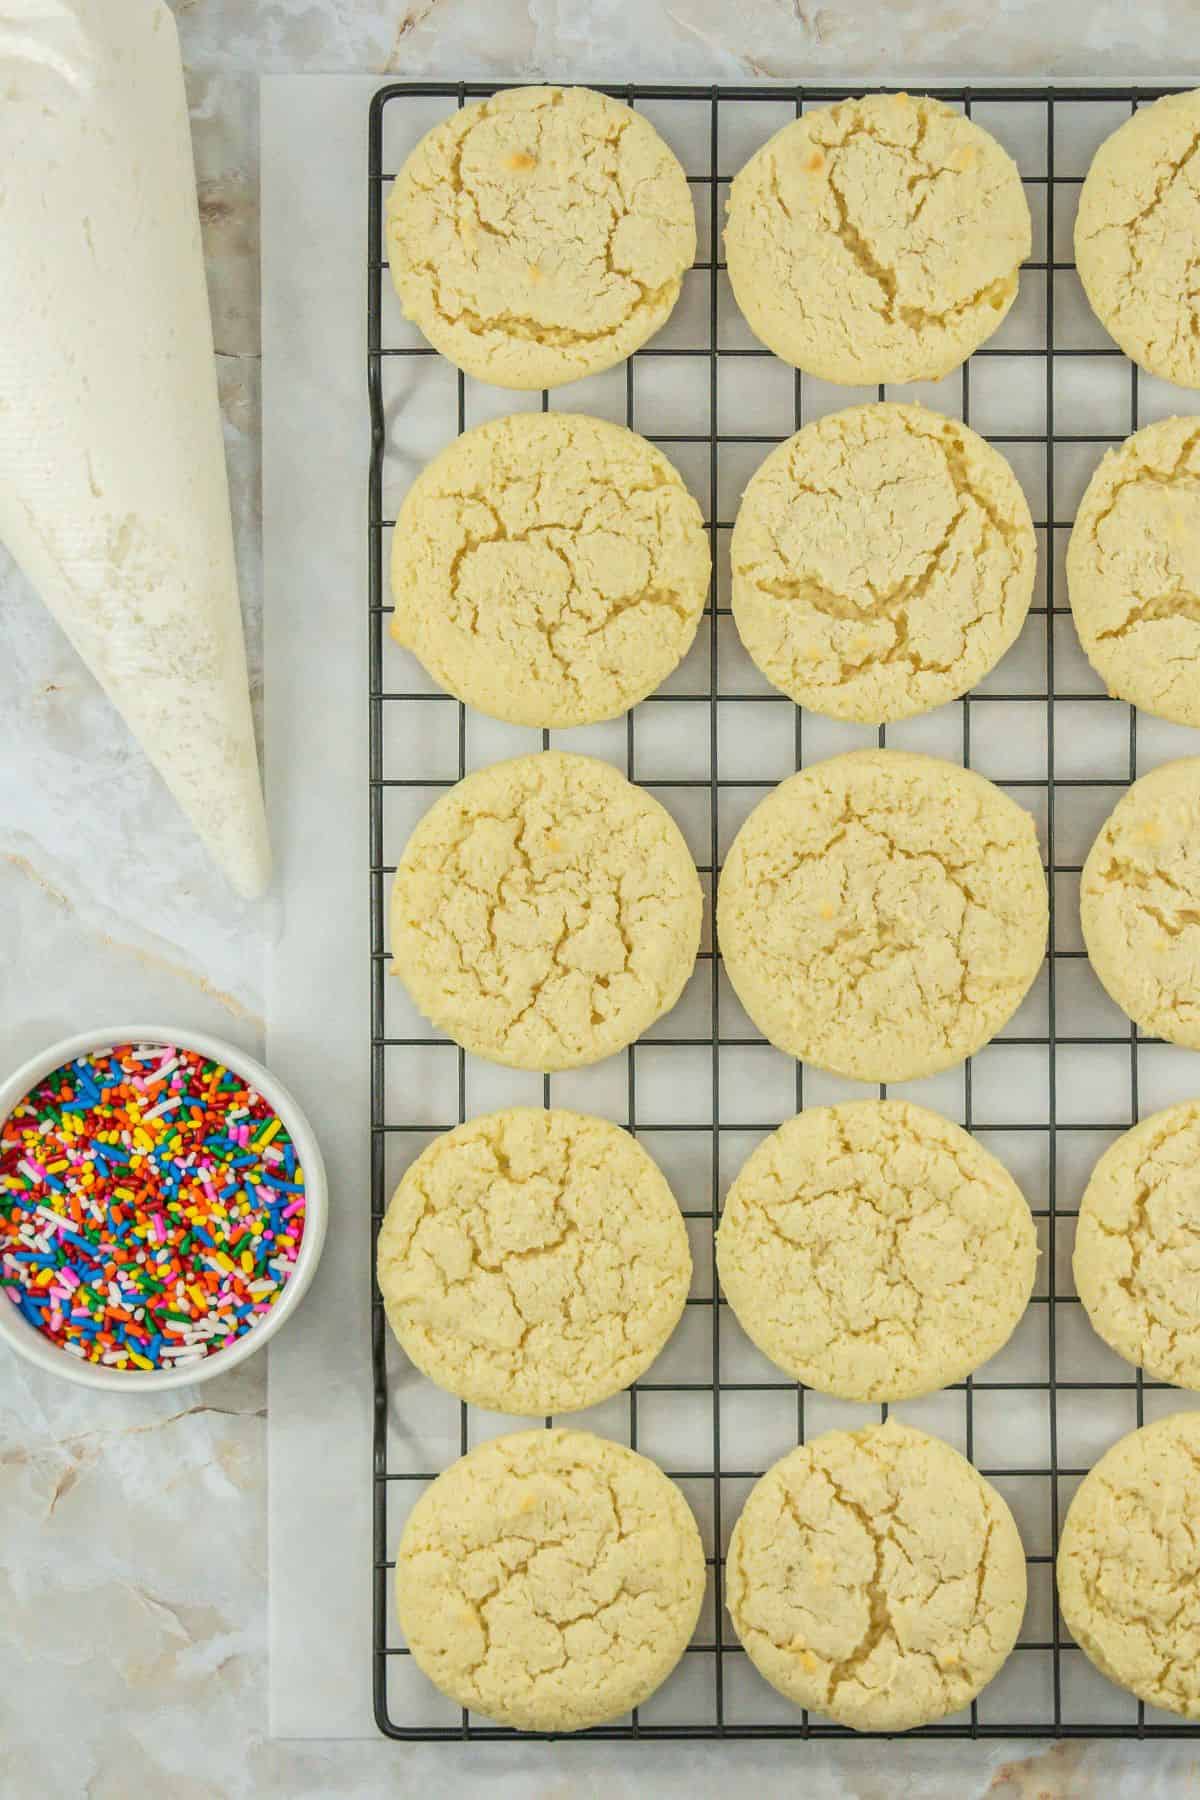
- Bake: Bake in the preheated oven for 12-15 minutes, or until the edges are just lightly browned. Remove from the oven and let the cookies cool on the baking sheet for 5 minutes before transferring them to a wire rack to cool completely.
- Prepare the frosting: While the cookies cool, make the frosting. In the bowl of a stand mixer, combine ½ cup softened butter, 1 teaspoon vanilla extract, 2 tablespoons milk, and 2 ½ cups powdered sugar. Mix on low speed until smooth, then increase to medium speed and beat for 1 minute until the frosting is light and fluffy. Scrape down the sides of the bowl and mix again briefly.
- Decorate the cookies: Transfer the frosting to a gallon-sized zip-top bag. Seal the bag tightly, ensuring there's no air trapped inside. Using scissors, snip off a small corner of the bag to create your own piping tool. Adjust the size of the cut based on how thick you want the frosting to be. Once the cookies are completely cool, pipe a swirl of frosting onto each one. Add sprinkles for a festive touch, if desired.
- Serve and enjoy: These cookies are best served fresh but can be stored in an airtight container for up to 3 days.
Notes
- Soften the Butter (But Don’t Melt It): If it’s too hard, it won’t mix properly; too soft or melted, and your cookies will spread everywhere. Need a quick fix? Cut it into small pieces it softens faster that way.
- Room-Temp Eggs Work Best: Cold eggs don’t mix well and can mess with the dough’s texture. Forgot to take them out? (Happens to me all the time.) Just put them in a bowl of warm water for a few minutes while you get everything else ready.
- Use Aluminum-Free Baking Powder: Opt for aluminum-free baking powder to avoid any chance of a metallic aftertaste. It makes a subtle but important difference in flavor.
- Measure Your Flour the Right Way: Use the spoon-and-level method: scoop the flour into your measuring cup with a spoon, then level it off with a knife.
- Chill the Dough for Better Handling: This dough can be a little sticky, which is part of what makes the cookies so soft. If it’s hard to handle, chill it for 20–30 minutes. It’ll be easier to roll out, cut, or scoop, and it holds its shape better in the oven.
Nutrition
Nutrition information provided is an estimate. It will vary based on cooking method and specific ingredients used.

Prep Ahead
Refrigerate the Dough
You can mix up the dough a couple of days before baking. Wrap it tightly in plastic wrap and stash it in the fridge for up to 3 days. When you’re ready to bake, let it sit out for 10–15 minutes to soften up—cold dough is no fun to roll or scoop.
Freeze the Dough
Don’t have time to bake now? Freeze the dough instead! Shape it into a flat disk (great for rolling later) or pre-scoop it into balls for drop cookies. Wrap everything tightly in plastic wrap and store it in a freezer-safe bag. It’ll keep for up to 3 months. When you’re ready, thaw it in the fridge overnight or bake straight from frozen with a couple of extra minutes in the oven.
Never Lose This Recipe—Email It to Yourself!
Make Frosting Ahead
Frosting is easy to make ahead! Whip it up to 3 days in advance and store it in the fridge in an airtight container. When it’s time to decorate, let it sit at room temp for a bit and give it a quick stir to make it smooth again.
How to store Sour Cream Cookies
Short-Term Storage: Since the frosting contains only butter, powdered sugar, and a small amount of milk, the high sugar content acts as a preservative. You can store the frosted cookies in an airtight container at room temperature for up to 2 days. Ensure they are kept in a cool, dry place away from direct sunlight and heat sources.
Refrigeration for Extended Freshness: For storage beyond 2 days, or if your house is warm or humid, it’s advisable to refrigerate the cookies to maintain quality and safety. Place them in a single layer in an airtight container, or separate layers with parchment paper to prevent sticking. Before serving, allow the cookies to come to room temperature to restore their soft texture.
Pro tip: hide them on the top shelf or in a cupboard nobody checks if you actually want them to last more than a day.
Freezer: Want to save some for later? Stack the cookies in layers separated by parchment or wax paper in a freezer-safe container or bag. They’ll keep perfectly for up to 3 months. When it’s cookie time, just thaw them at room temp for about 30 minutes, and they’ll be as soft and delicious as the day you made them.
Quick Recipe Help and Common Questions
My frosting is too runny, what do I do?
If the frosting is too thin, add more powdered sugar, one tablespoon at a time, until it thickens to your desired consistency. Alternatively, reduce the amount of milk next time to avoid a runny texture.
Why do my cookies have a dense texture instead of being soft and fluffy?
Overmixing the dough can lead to dense cookies. Mix the ingredients just until combined to avoid developing too much gluten. Additionally, check your baking powder and baking soda—they may be expired.
Why do my cookies taste metallic?
This could be due to the baking powder used. Opt for aluminum-free baking powder to avoid any metallic aftertaste. It’s a small change that makes a big difference in flavor.