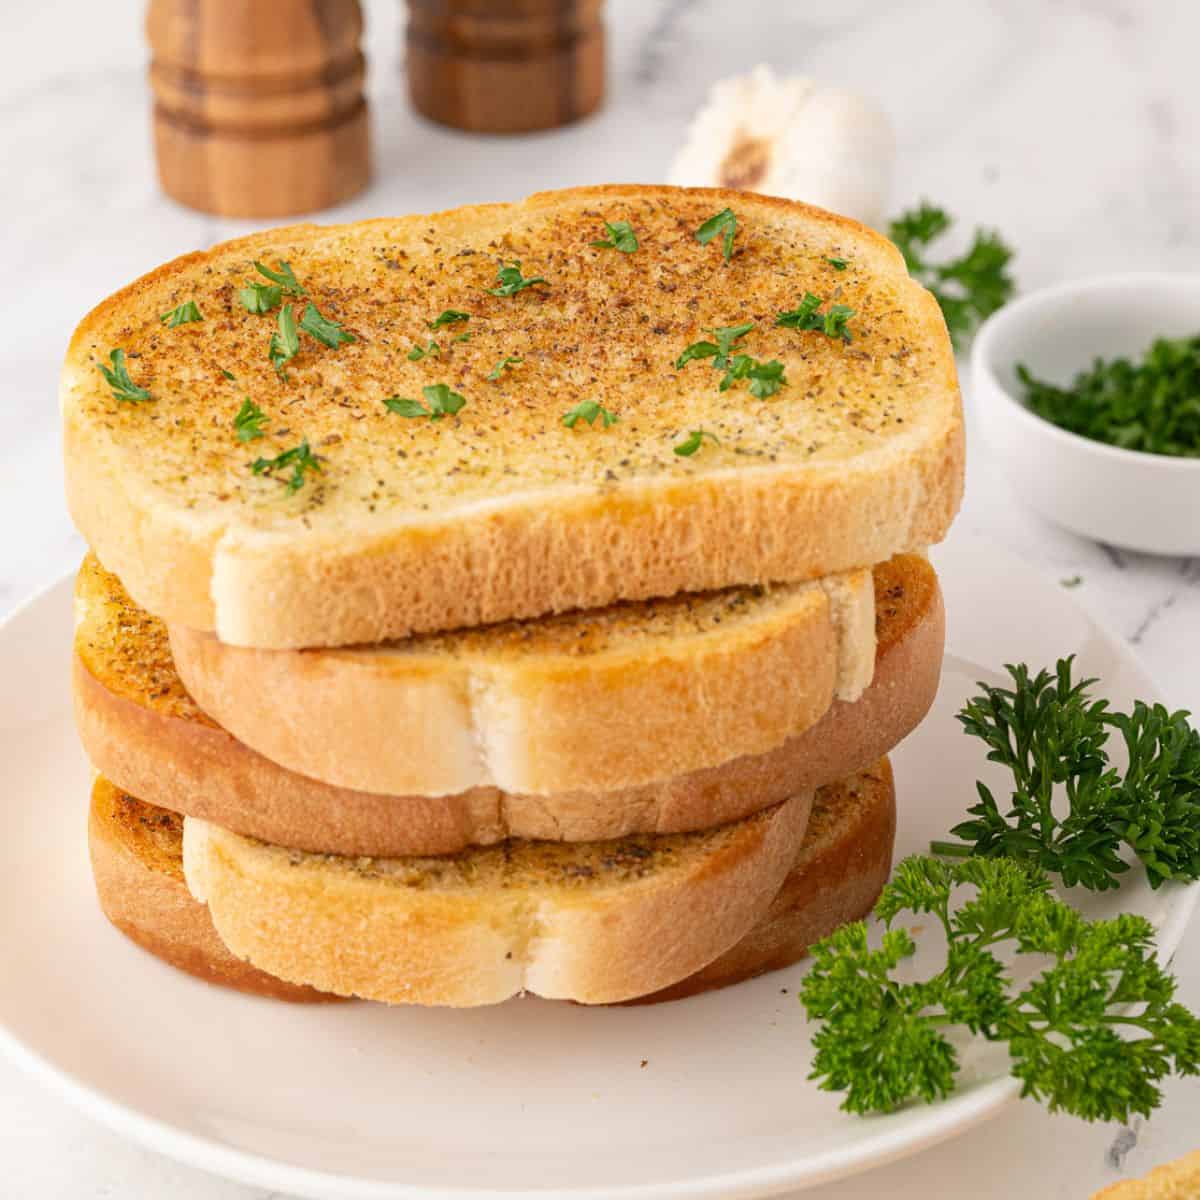
Garlic Toast
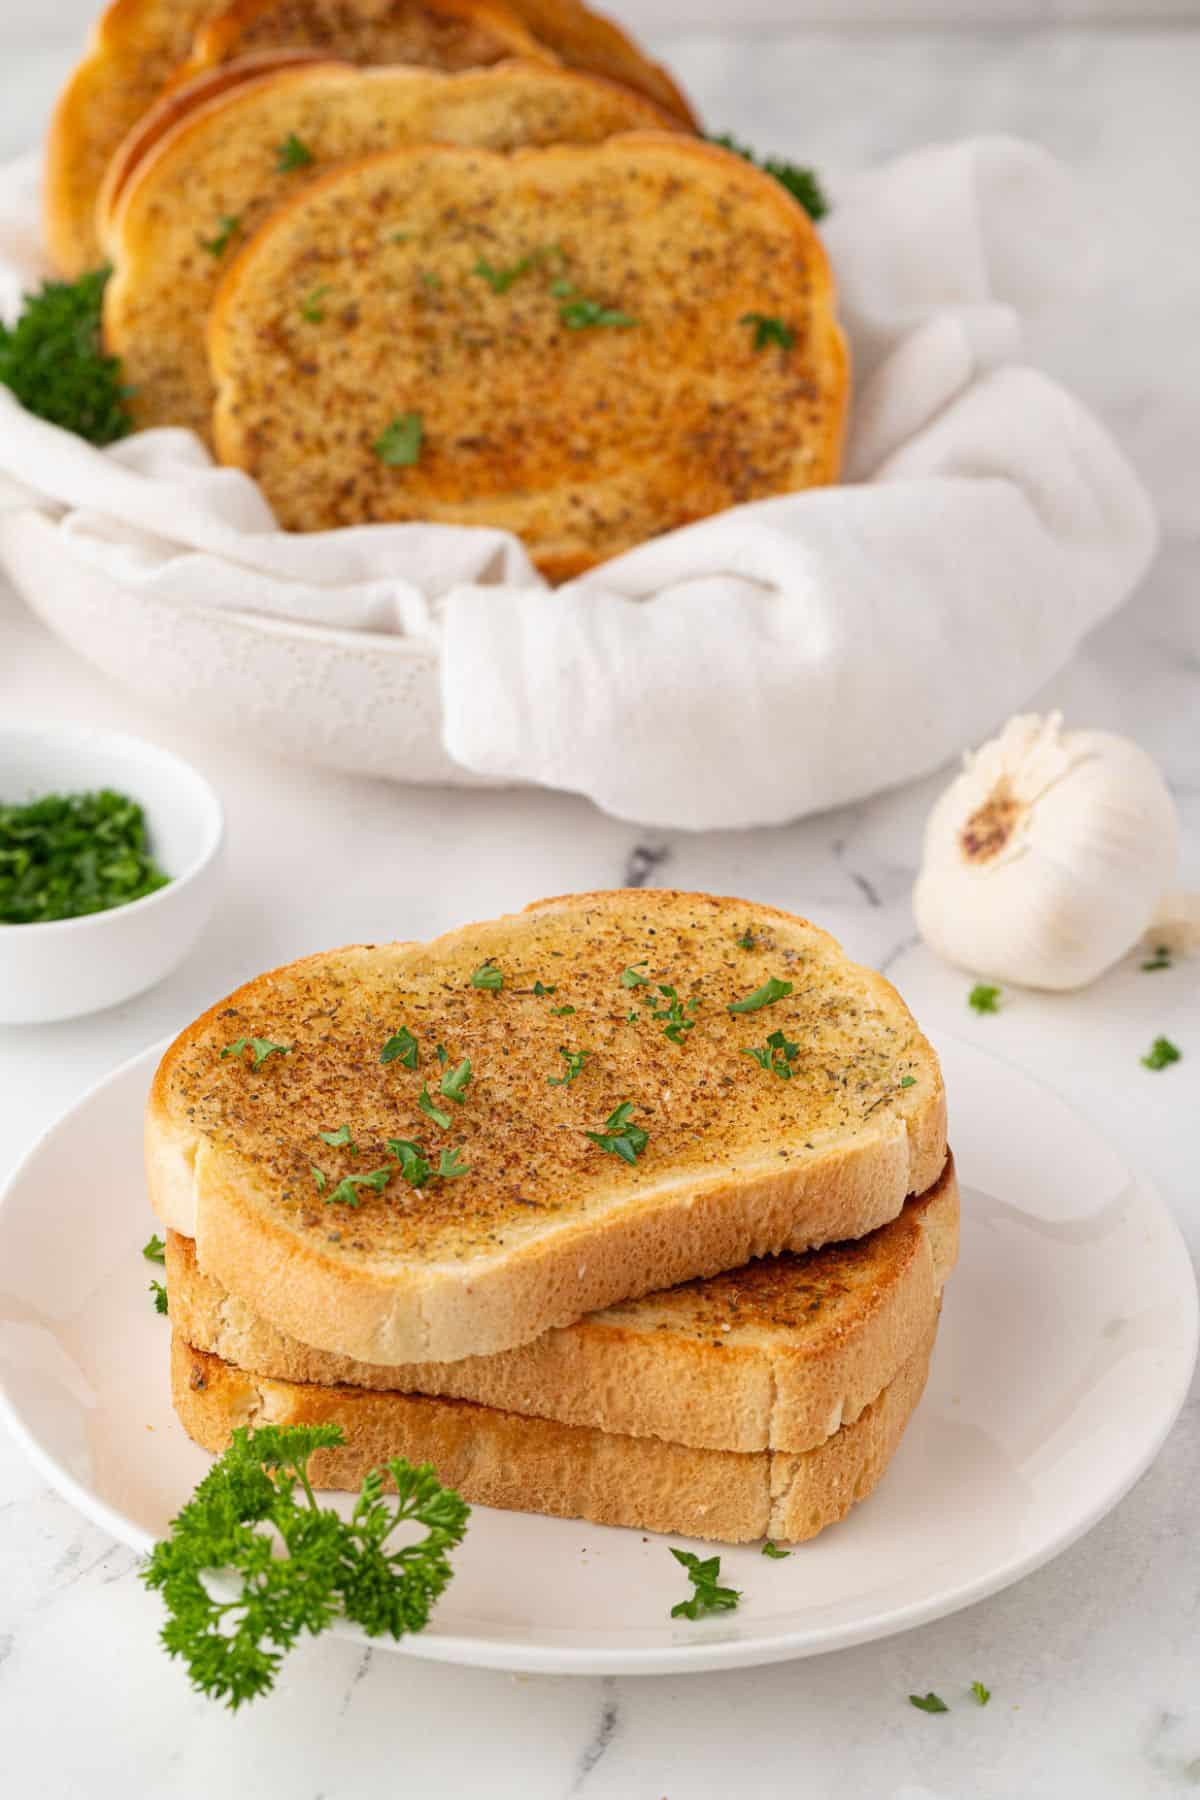
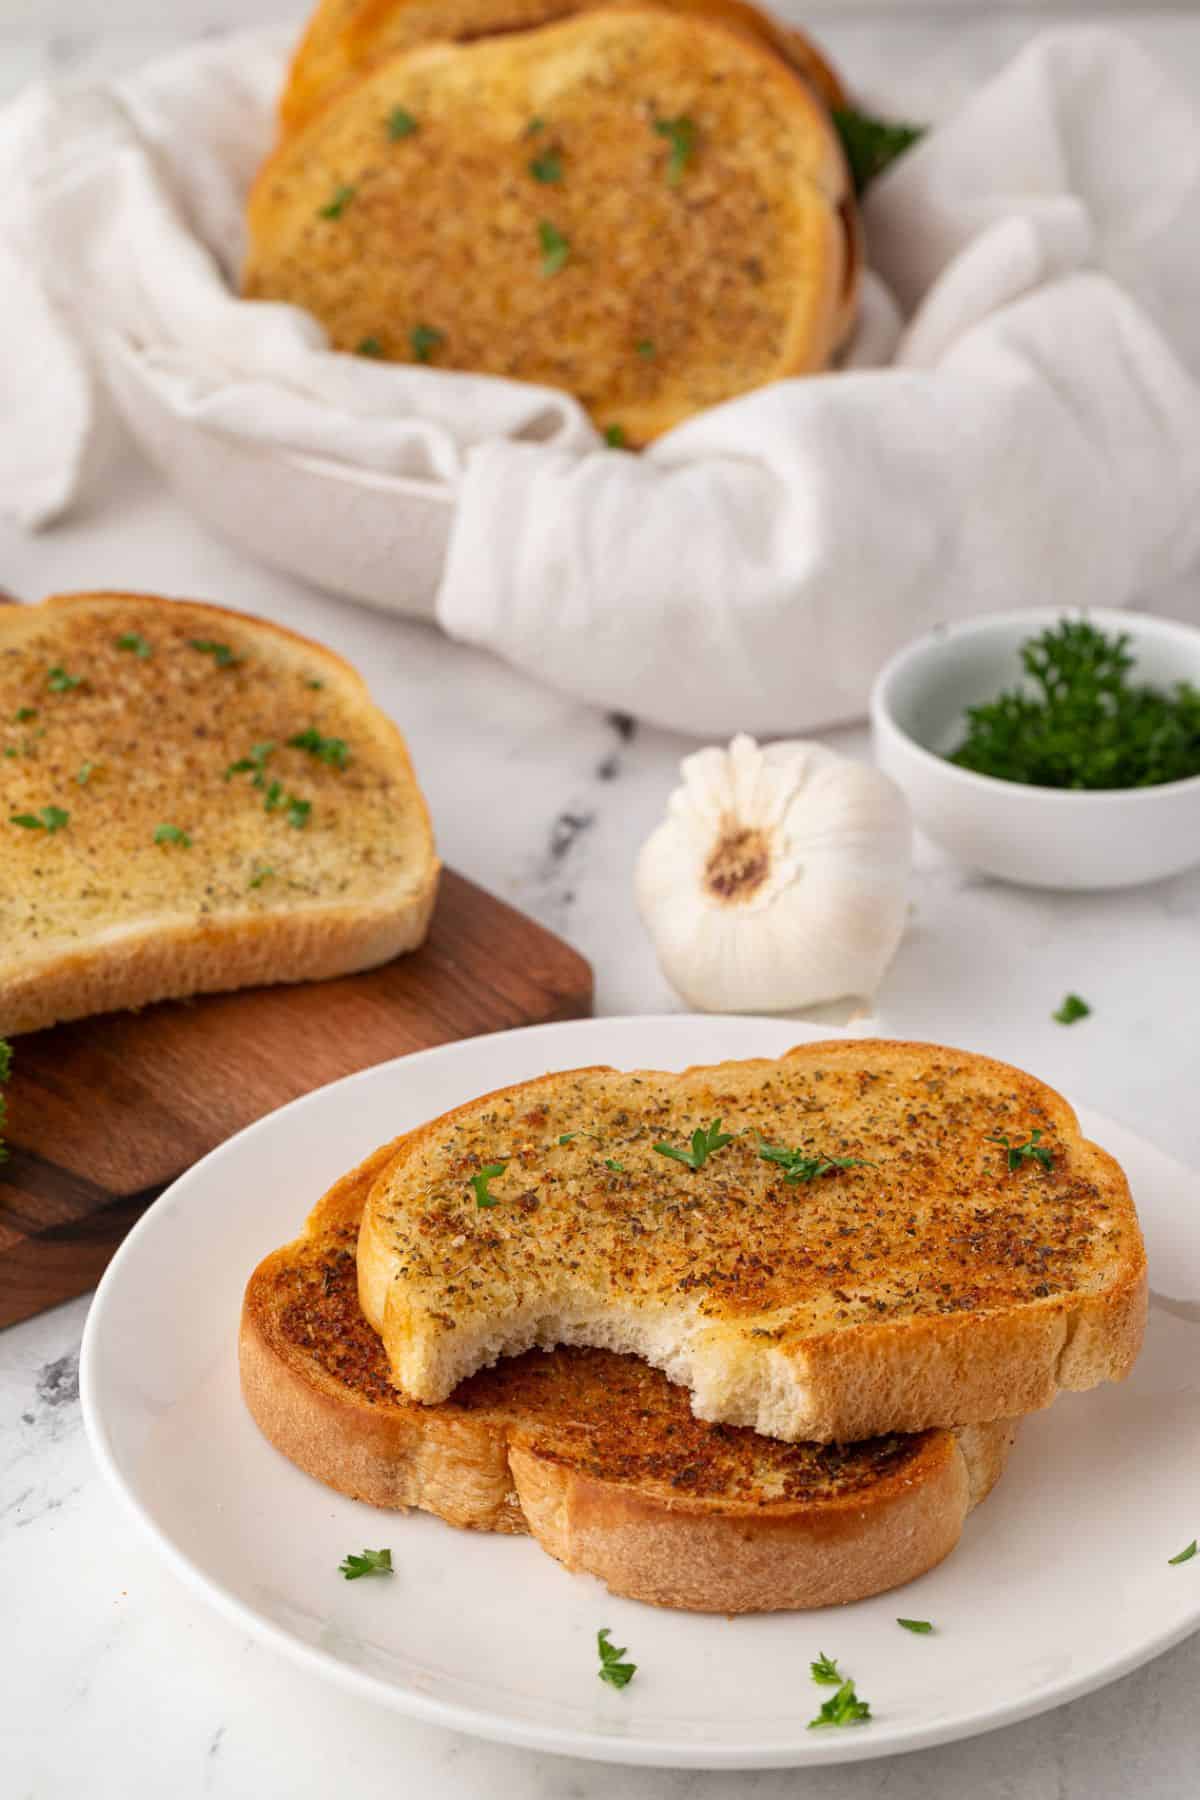
Homemade garlic toast made with sandwich bread, butter, garlic powder, and Italian seasoning. Toasts in minutes using a sheet pan and the oven.
Garlic toast is one of the sides I make without even thinking about it anymore. It’s simple (I use pre-sliced sandwich bread), quick, and it just makes every dinner better. I’ve tried frozen garlic bread before, but nothing beats homemade garlic toast with real butter and a heavy hand on the garlic powder. I probably make it twice a week, usually when I need an easy side or just want something warm and crispy to go with Million Dollar Spaghetti or Slow Cooker Lentil Ham Soup. It’s nothing fancy, but it always hits the spot.

How to Make the Best Garlic Toast with Sandwich bread
For detailed step-by-step instructions, be sure to check out the full recipe in the recipe card at the bottom of the page.
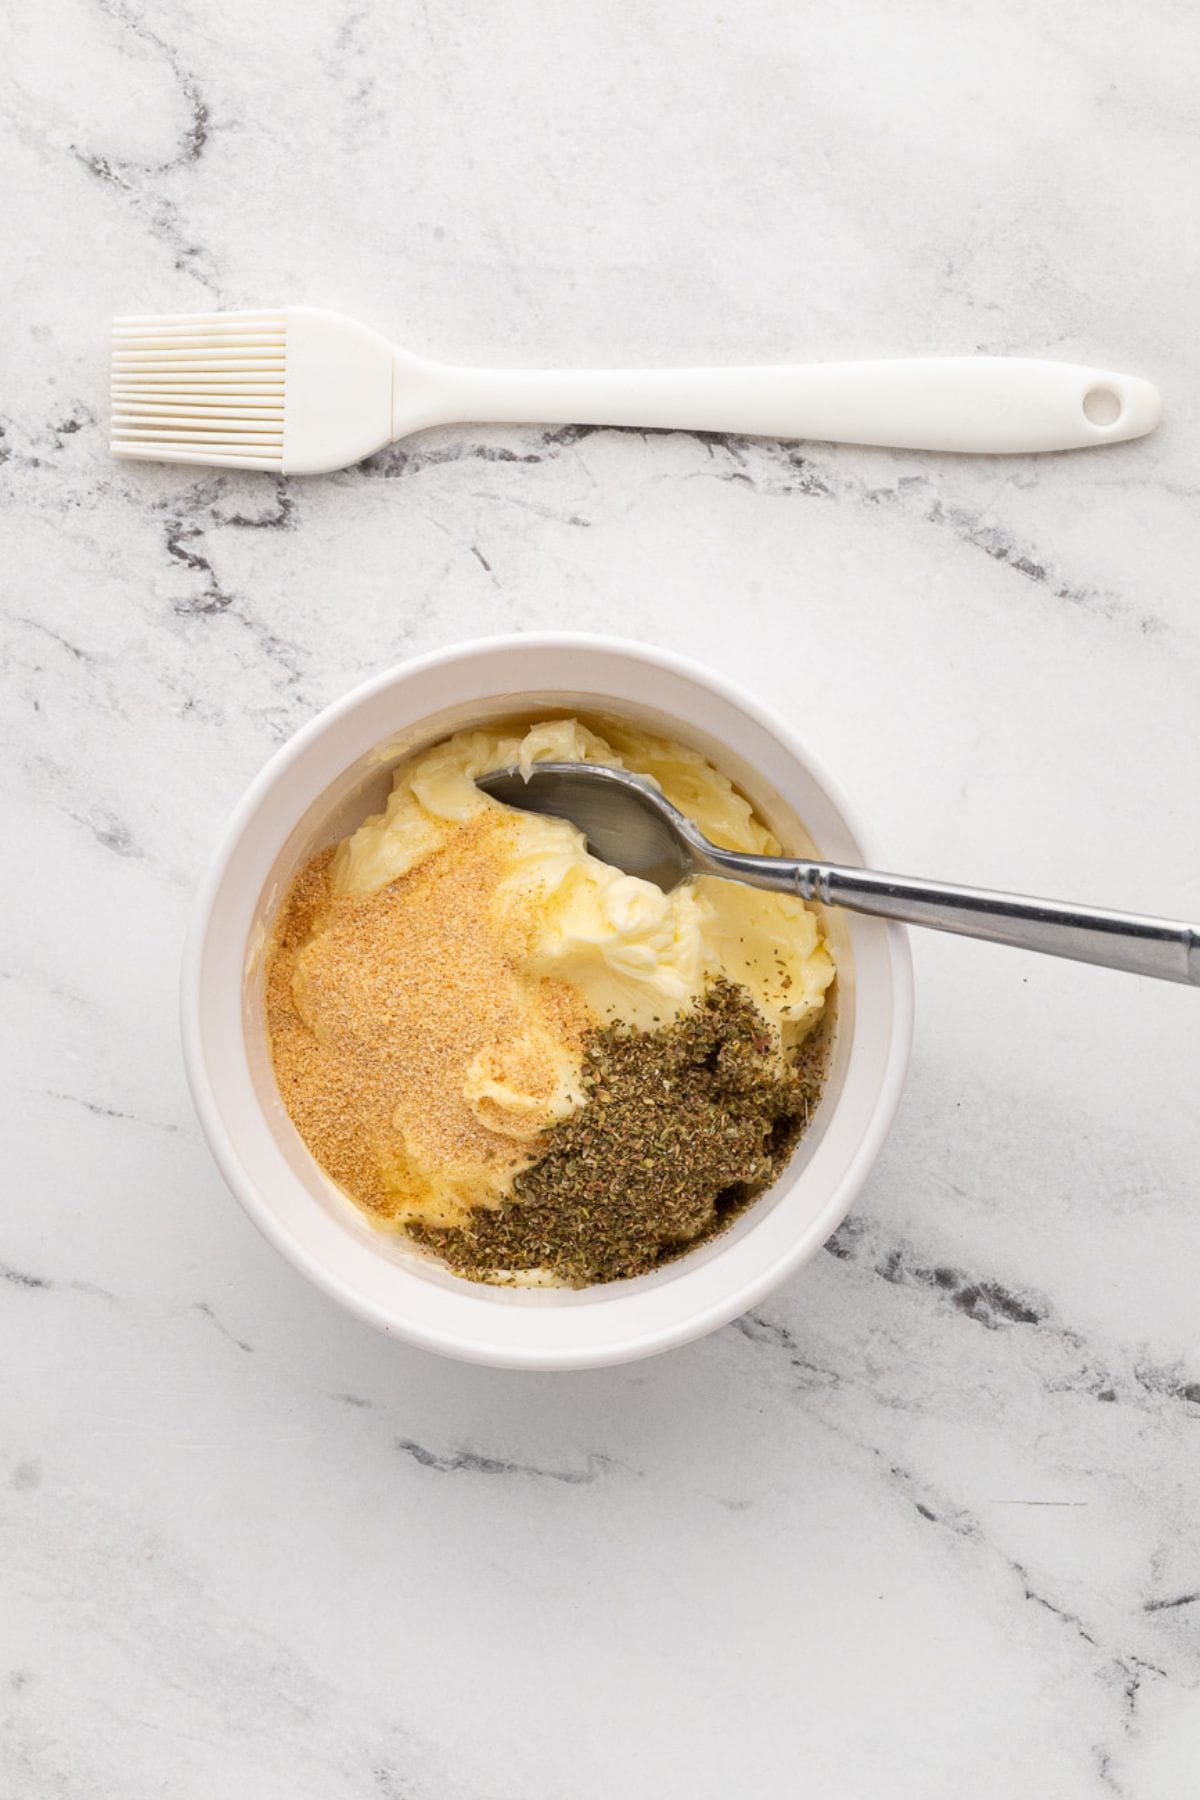
Step 1: Add salted butter (softened), garlic powder, and Italian seasoning to a small bowl.
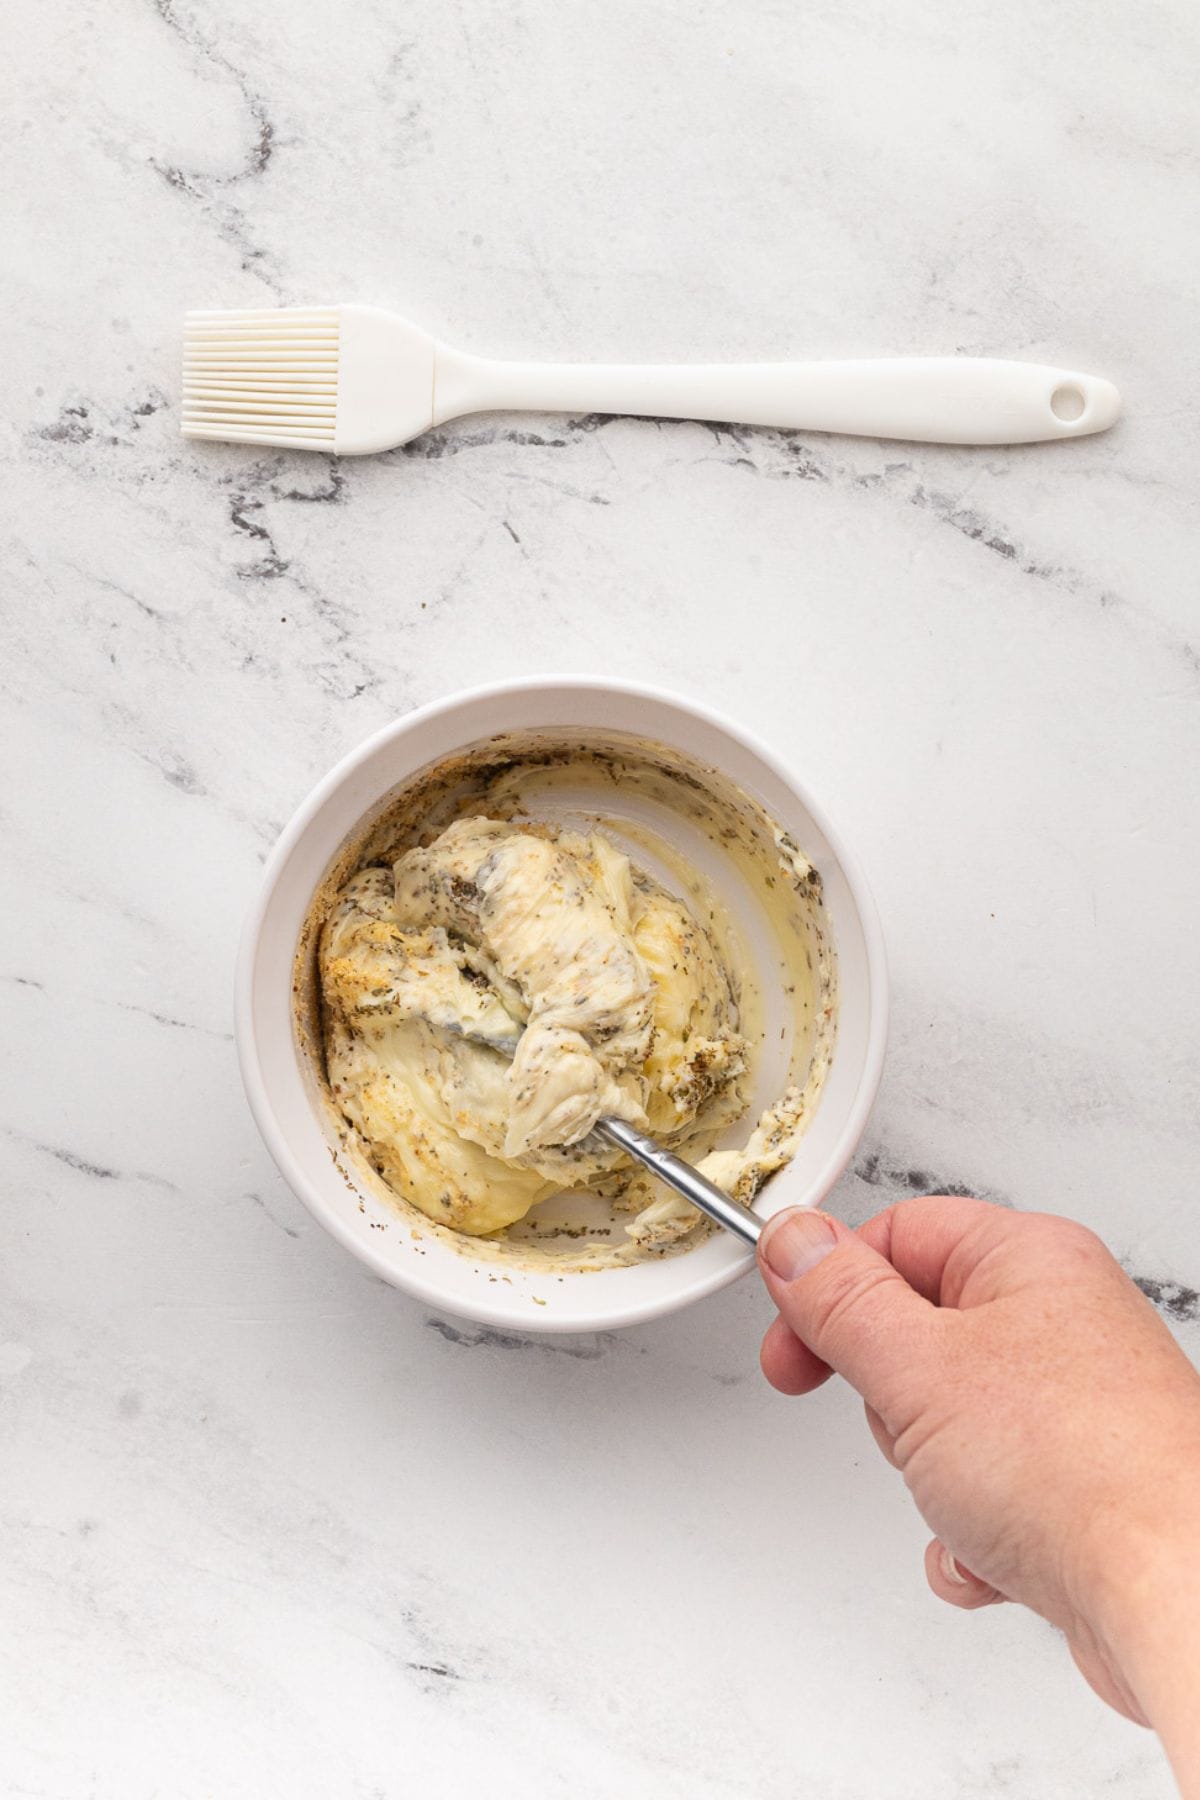
Step 2: Mix until smooth and well combined.
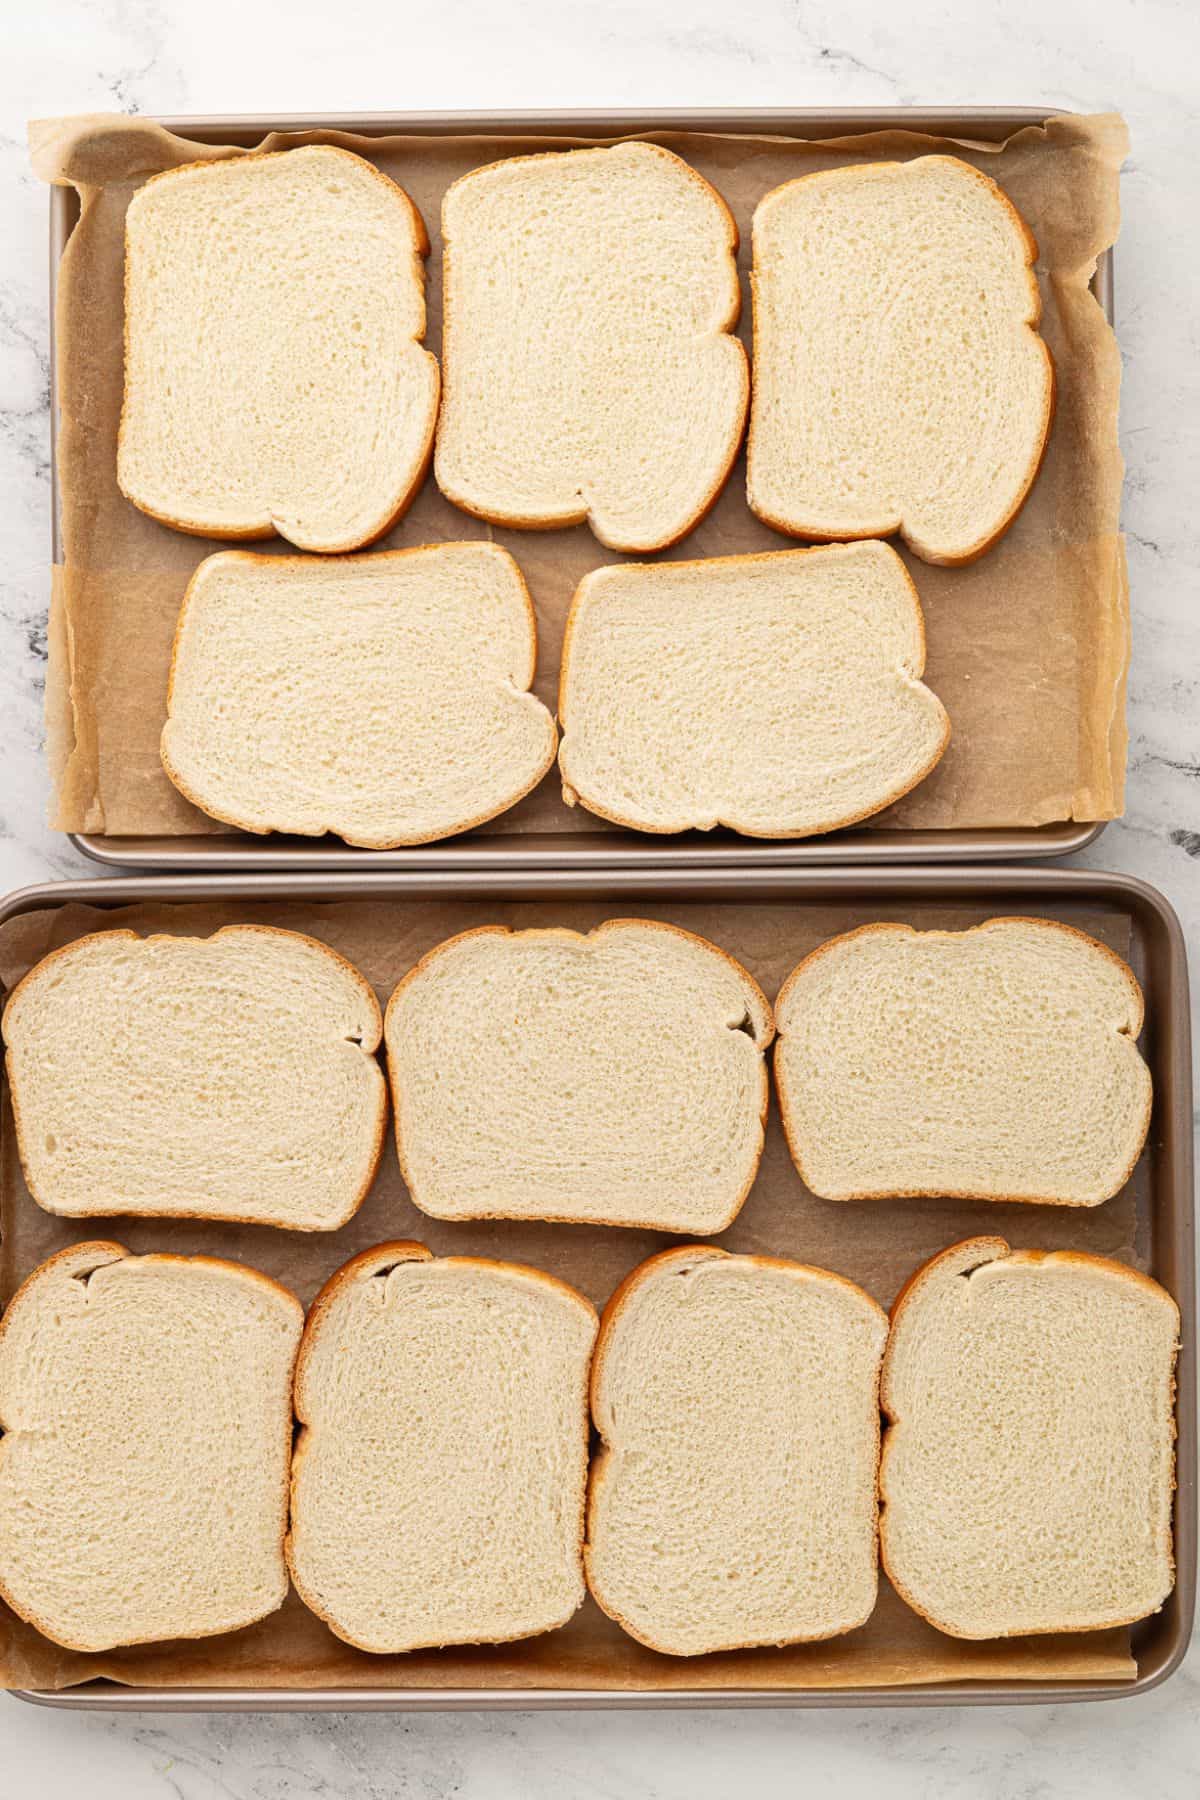
Step 3: Grab 2 baking sheets and line each with parchment paper for easy cleanup. Place 8 slices of sandwich bread on each baking sheet.
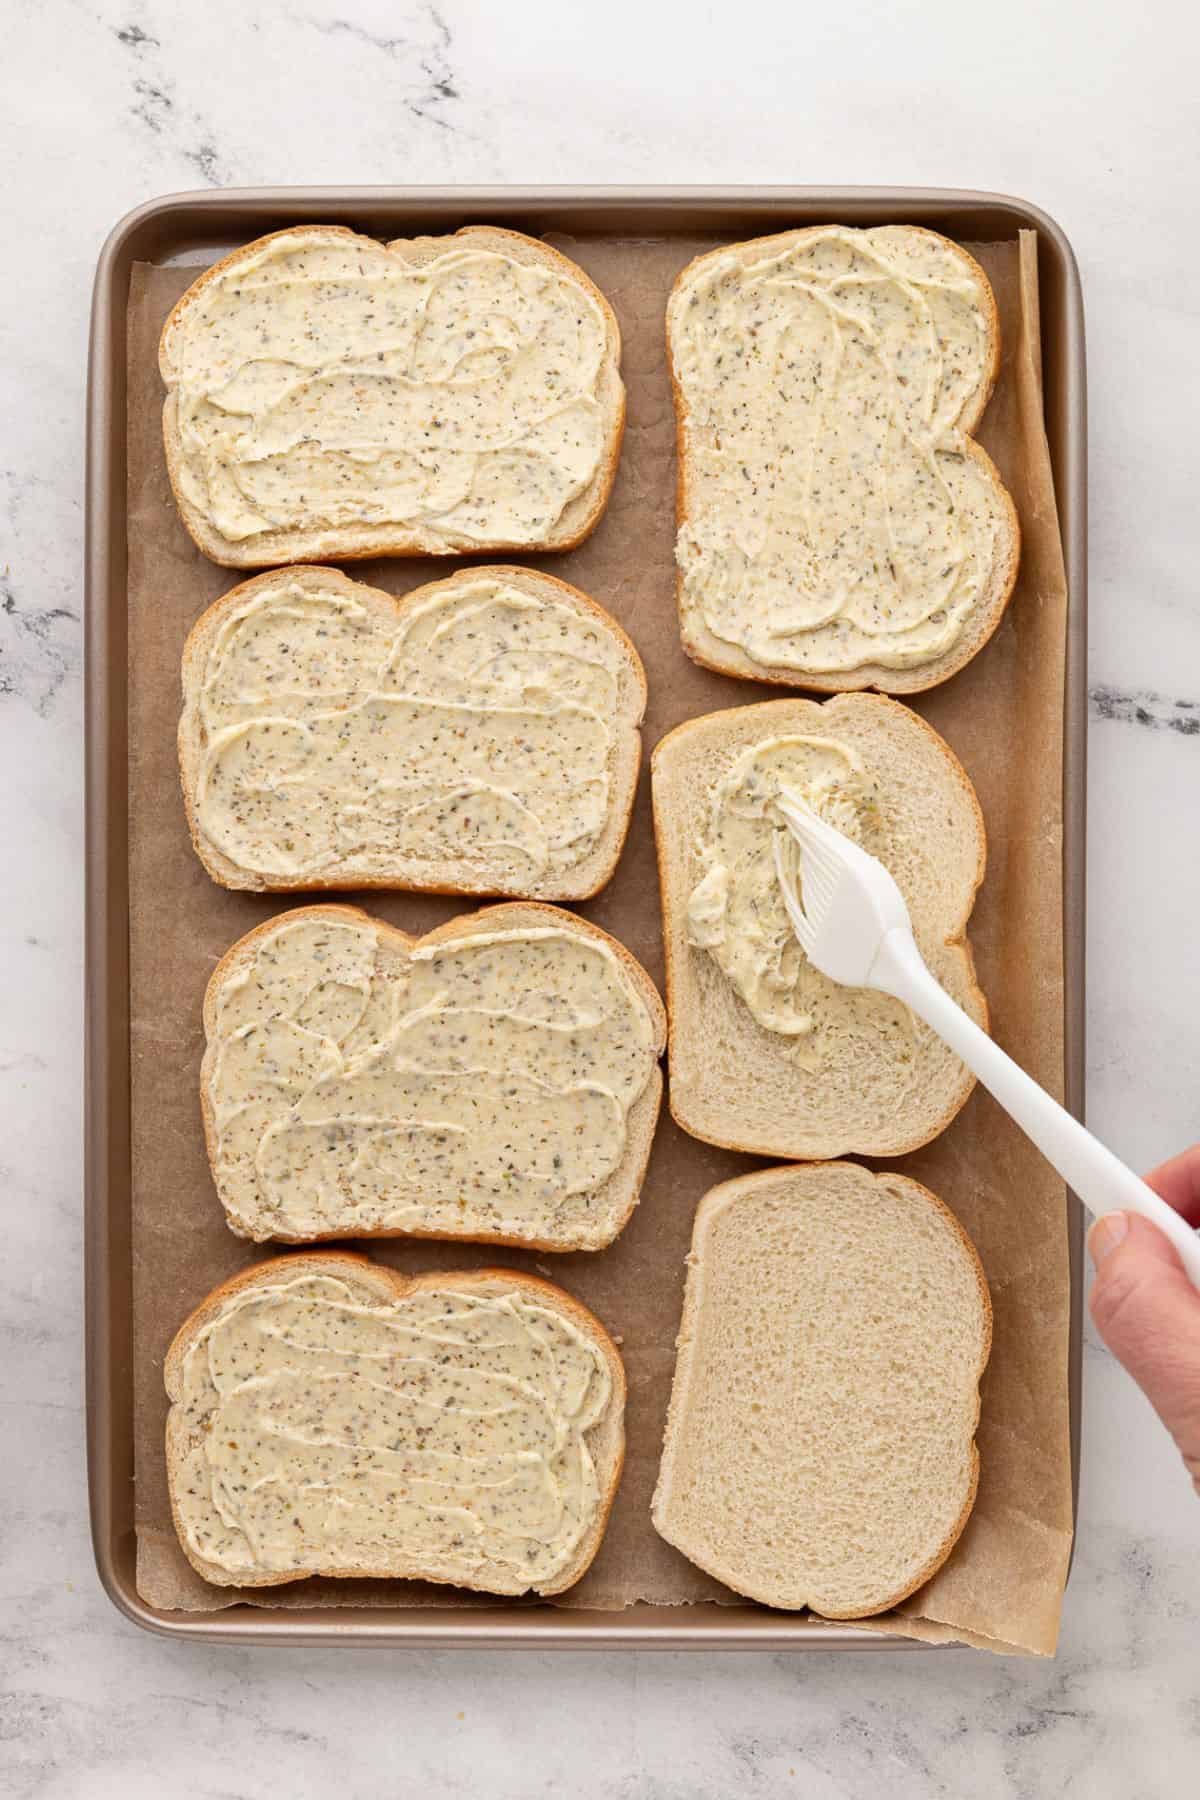
Step 4: If you have a basting brush, use it to spread the garlic butter mixture evenly on one side of each slice of bread. If you don’t have it, use a spoon to dollop some of the garlic butter onto each slice and then spread it evenly with the back of the spoon.
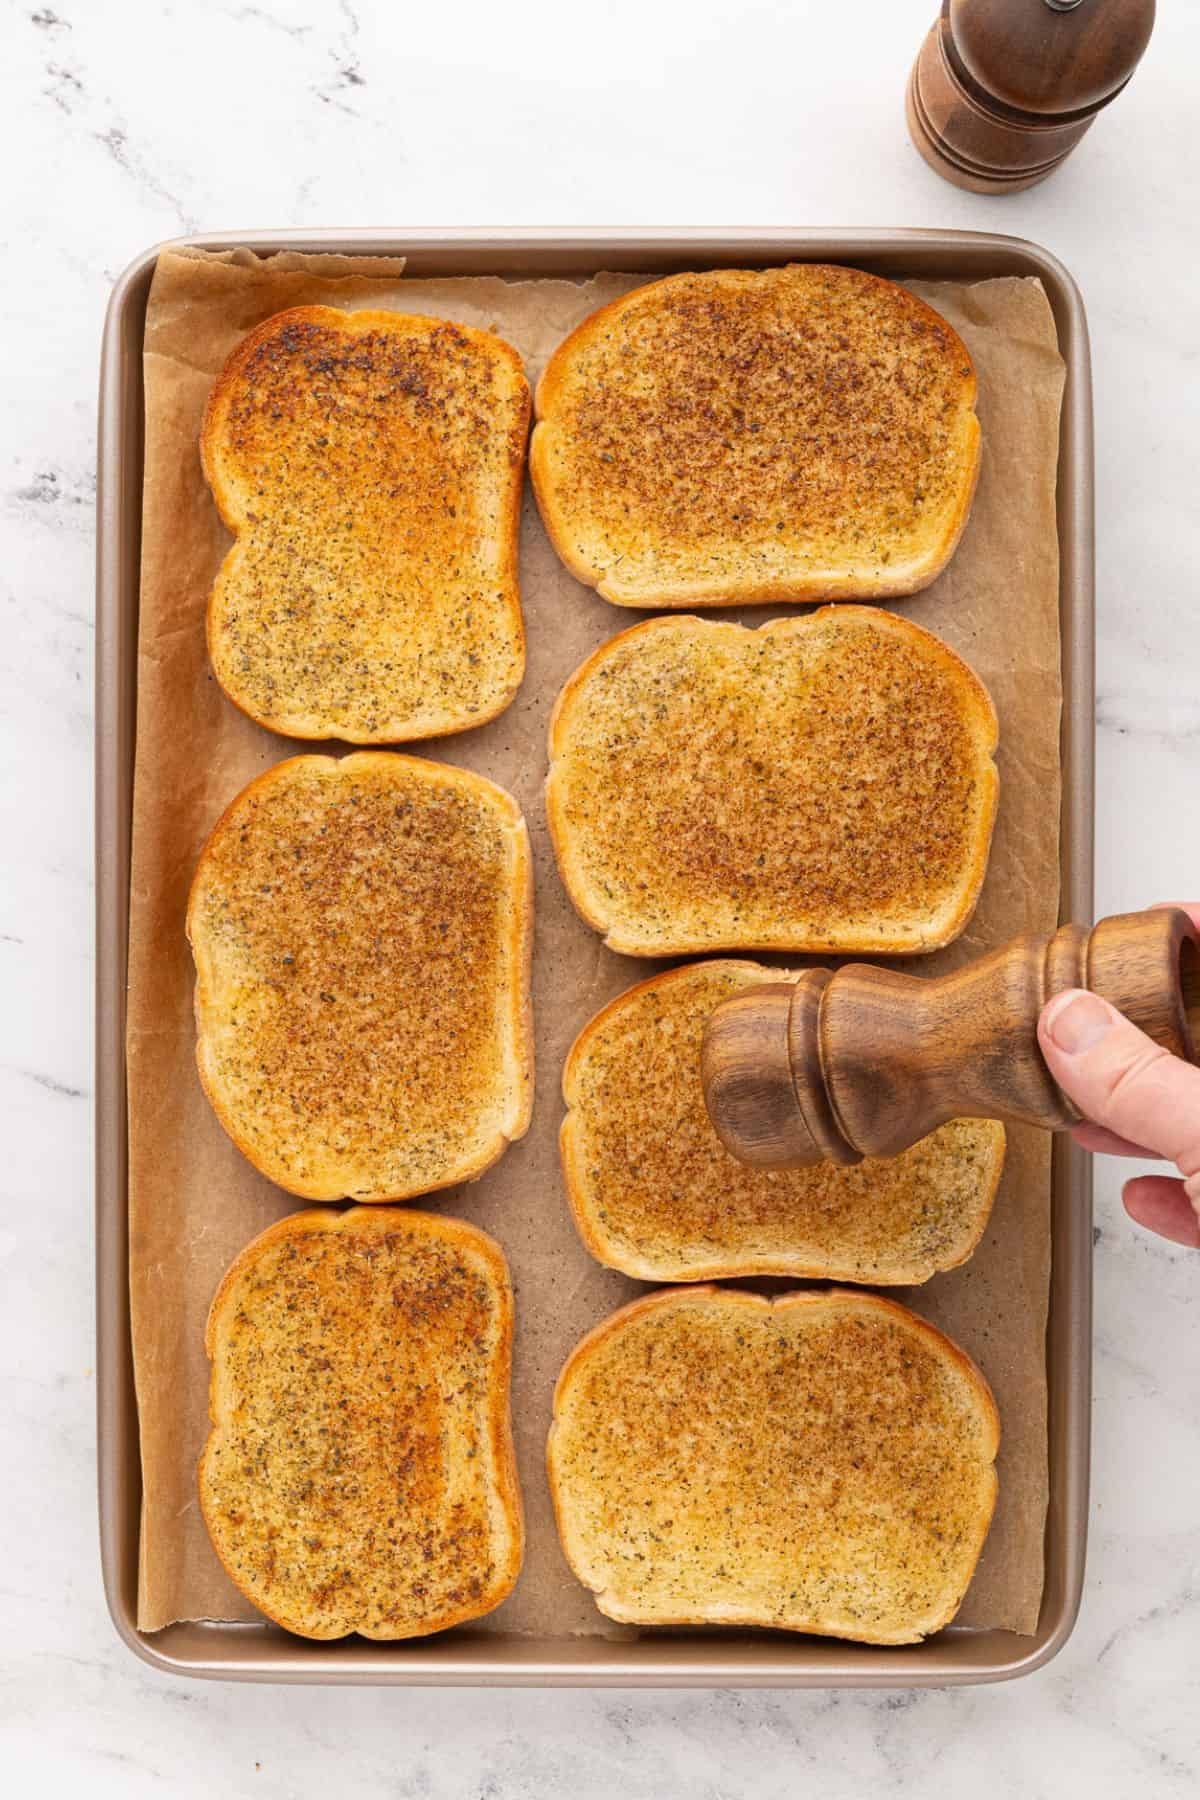
Step 5: Place the first baking sheet in the oven and bake until the edges are golden and the butter is melted. Remove the first batch, then repeat with the second baking sheet.
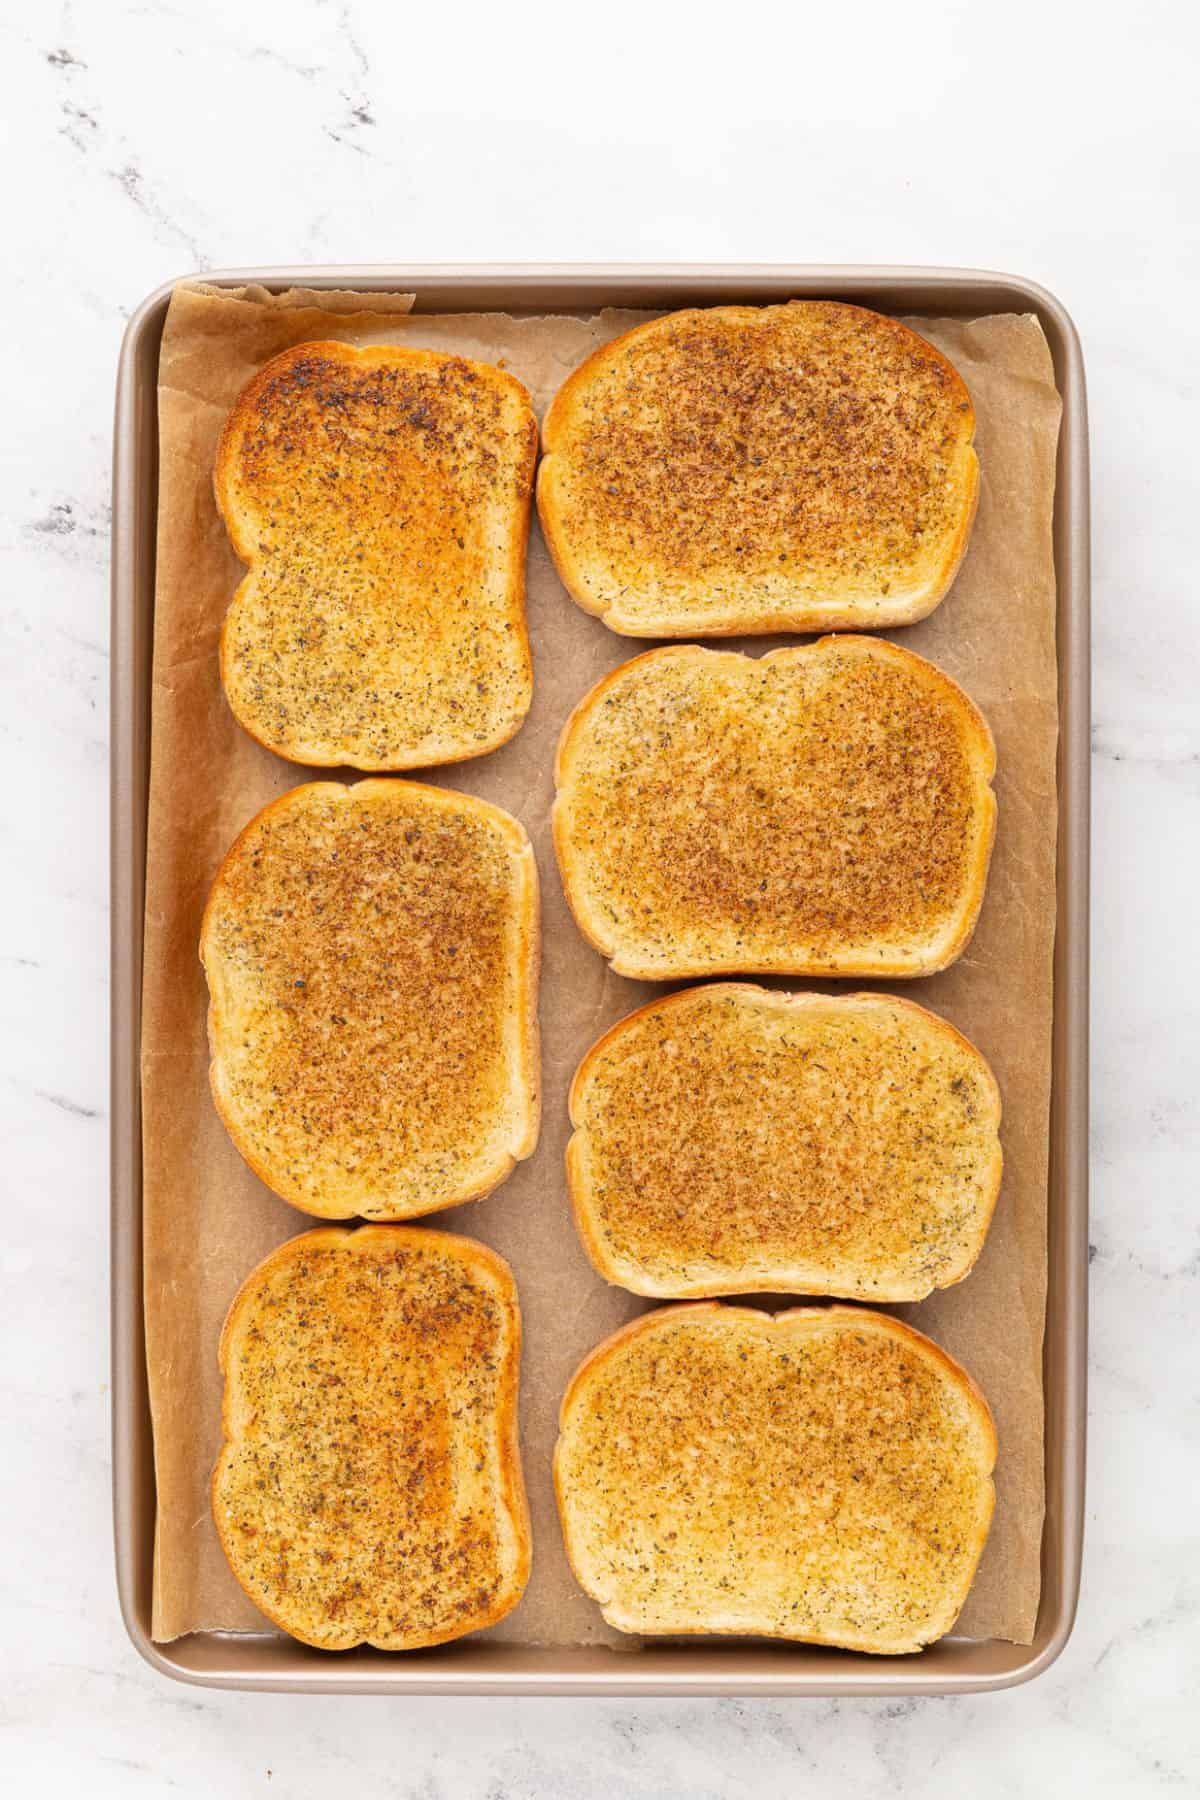
Step 6: Alternatively, broil the bread on the middle rack, watching closely to prevent burning.
Once the bread is out of the oven, sprinkle with salt and pepper to taste, if desired.
Garlic Toast Recipe
Never Lose This Recipe—Email It to Yourself!
Equipment
Ingredients
- 16 slices sandwich bread
- 1/2 cup salted butter softened
- 2 1/2 teaspoons garlic powder
- 2 teaspoons Italian seasoning
- Salt and pepper to taste (for finishing)
- 1/4 cup grated Parmesan cheese optional
Instructions
- Preheat your oven to 350°F (175°C) or turn on the broiler for a crispier toast.
- In a small bowl, mix 1/2 cup salted butter (softened), 2 1/2 teaspoons garlic powder, and 2 teaspoons Italian seasoning until smooth and well combined.
- Grab 2 baking sheets and line each with parchment paper for easy cleanup. Place 8 slices of sandwich bread on each baking sheet.
- If you have a basting brush, use it to spread the garlic butter mixture evenly on one side of each slice of bread. If you don’t have a basting brush, use a spoon to dollop some of the garlic butter onto each slice and then spread it evenly with the back of the spoon, ensuring full coverage.
- Place the first baking sheet in the oven and bake for 5-7 minutes, or until the edges are golden and the butter is melted. Remove the first batch, then repeat with the second baking sheet. Alternatively, broil the bread on the middle rack for 1-2 minutes per tray, watching closely to prevent burning.
- Once the bread is out of the oven, sprinkle with salt and pepper to taste, if desired.
Notes
- Adjust the Garlic Butter as Needed: Not all bread slices are created equal. If you’re using thicker slices (like Texas toast), you might need more butter to fully coat them.
- Soften Butter Fast: Microwave your butter in 5-second bursts until just soft (not melted), or grate it with a cheese grater; it’ll soften almost instantly. You can also cut it into small cubes and let it sit at room temperature for 10 minutes.
- Customize the Toast Level: Like your toasted garlic bread just warm and buttery? Bake for 5 minutes. Love it crispy and golden? Go for 7-8 minutes. Broiling? 1-2 minutes max, any longer, and you’ll be eating charcoal.
- Freeze Bread for Easy Spreading: If your butter keeps tearing up the bread, stick the slices in the freezer for 15 minutes first.
Nutrition
Nutrition information provided is an estimate. It will vary based on cooking method and specific ingredients used.
Meal Prep: Making this Baked Garlic Toast As A Freezer Side
I didn’t know you could meal prep garlic toast until I had a house full of kids. Now I keep a freezer stash like it’s gold! Pre-buttered bread ready to go means I can throw something tasty on the table without thinking. Here’s how to:
Preparation For Freezing:
- Make the Garlic Butter: In a bowl, mix softened butter, garlic powder, and Italian seasoning. Get it nice and spreadable so you’re not fighting it later.
- Butter the Bread: Grab your bread and spread a good layer of garlic butter on one side of each slice. Cover the whole surface so nobody ends up with a dry corner.
- Freeze the Bread: Lay the buttered slices flat on a baking sheet lined with parchment paper. If you need to stack them, add parchment or wax paper between each slice so they don’t freeze into a solid loaf. Once the slices are frozen solid, toss them into a freezer-safe bag or container.
Cooking From Frozen:
No need to thaw. Just throw the frozen slices onto a baking sheet and bake at 350°F for 8-10 minutes until hot and crispy. If you want extra crunch, broil for the last 1-2 minutes.
Never Lose This Recipe—Email It to Yourself!
Serving Ideas
- Pasta: Serve with hidden veggie mac & cheese, baked rigatoni, or lasagna. Garlic toast and pasta belong together—no notes.
- Soups & Stews: Great for dunking into lentil ham soup, chicken stew, or lentil stew. Makes any bowl of soup feel like a full meal.
- Dips: Tear it up and scoop it into a buffalo chicken dip, crack chicken, or Jarlsberg cheese dip. Better than chips, every time.
- Brunch: Top it with scrambled eggs & bacon, pile on some breakfast casserole, or add avocado and a poached egg.
Quick Recipe Help and Common Questions
Why is my homemade garlic toast soggy?
Probably because you went a little too hard on the butter or didn’t bake it long enough. Dial back the butter a bit or leave it in the oven for another minute or two. And for the love of carbs, do NOT microwave it unless you enjoy weird, chewy bread.